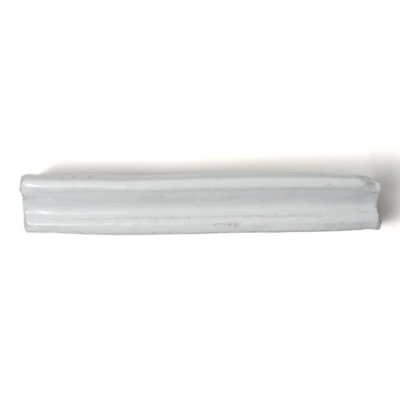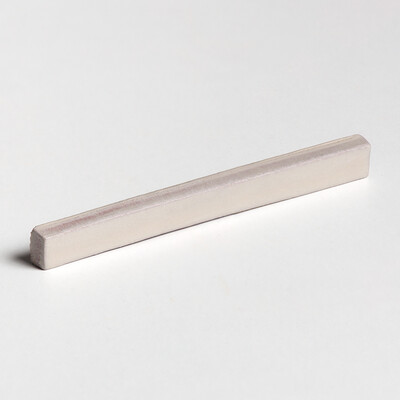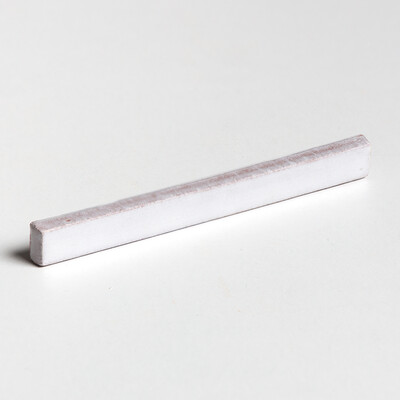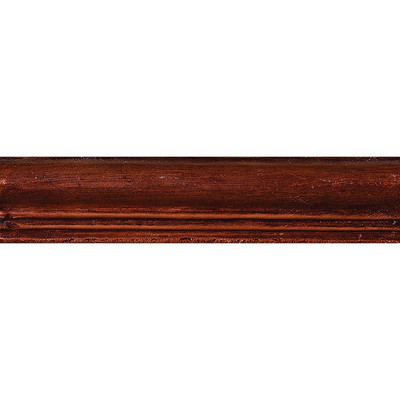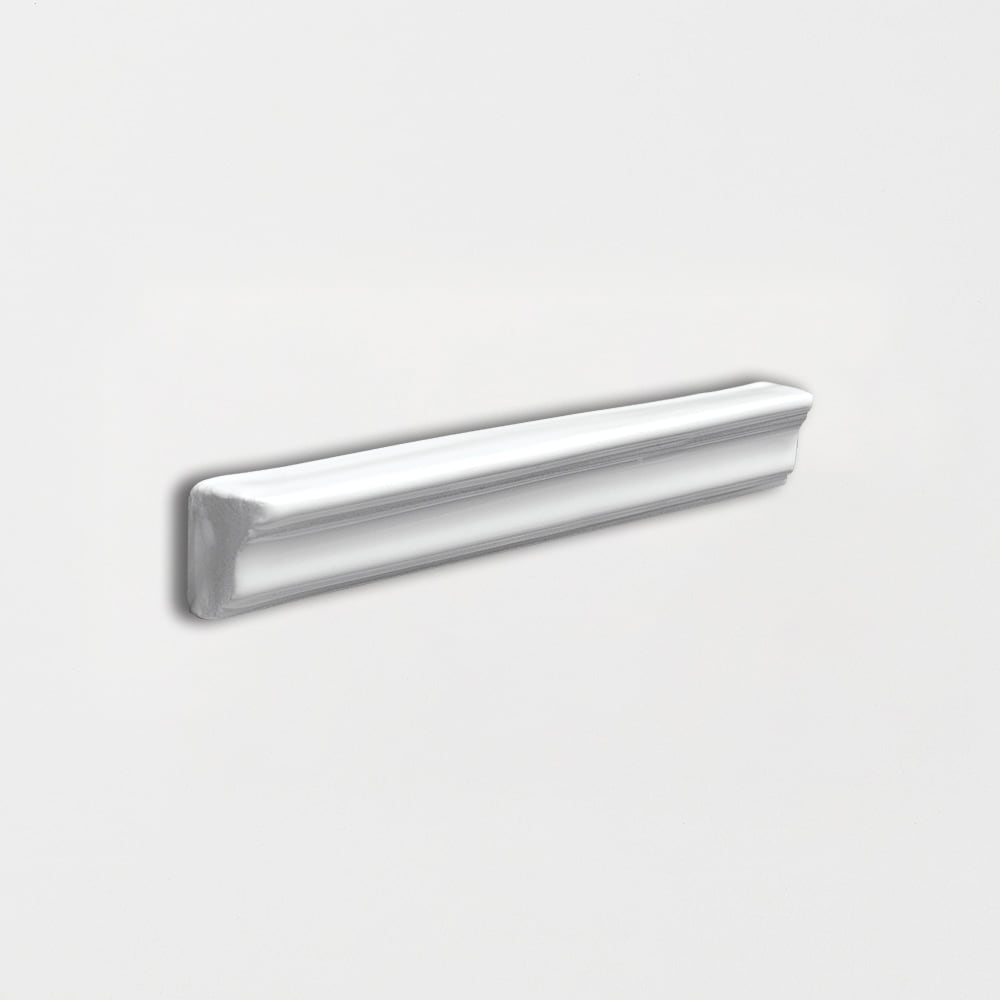
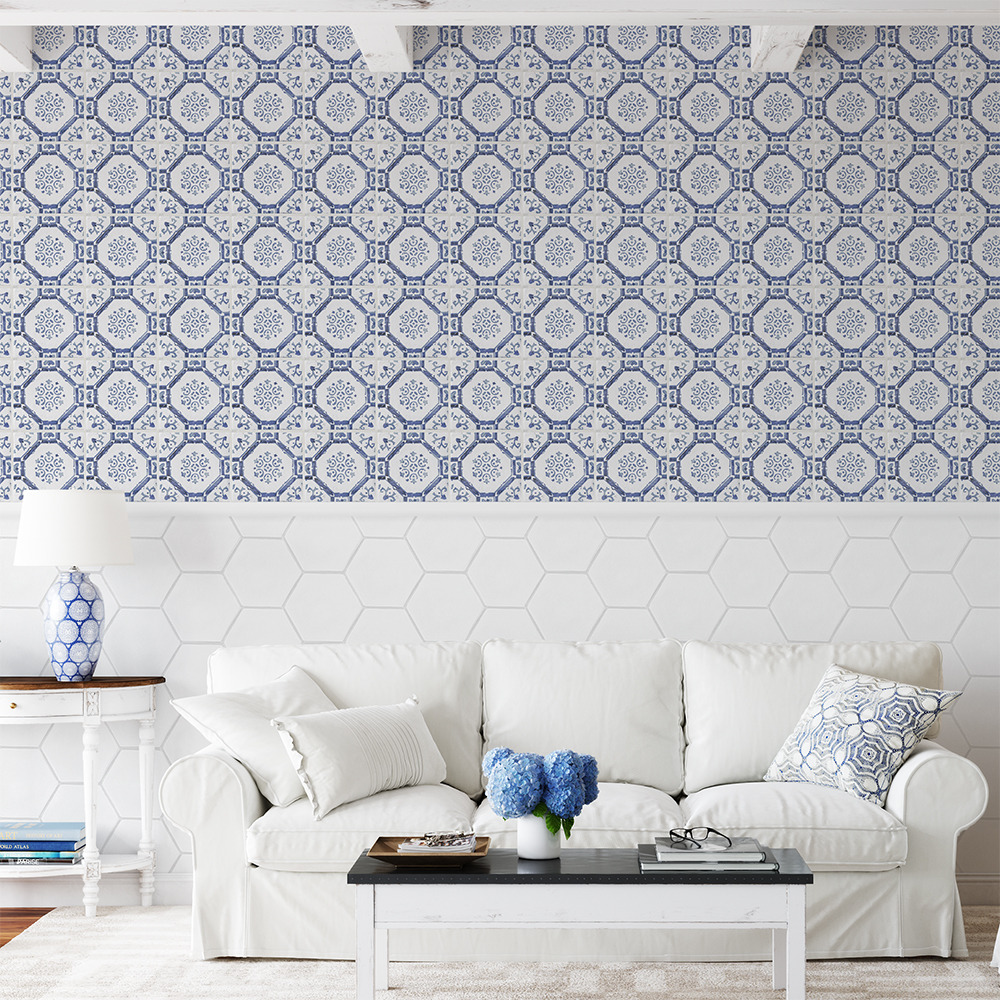

Royal White Glossy Finish Trim Glazed Terracotta Molding 1"x6"x3/4"
Price Tier:
Sorry, this product is currently unavailable. Please inquire about availability or explore in-stock alternatives:
Product Specifications
About The Moldings:
Royal White Glossy Finish Trim Glazed Terracotta Moldings bring a clean, architectural detail to tiled interiors. The rectangular 1x6 profile is shaped for finish trim, while the glossy Royal White surface adds a polished accent along walls and backsplashes.
Made from glazed terracotta, this molding features a bevelled edge that gives transitions and terminations a defined, tailored appearance. Its modern design works naturally with a range of interior palettes, from crisp monochromatic schemes to spaces layered with color and texture.
Use this trim to frame backsplashes, finish shower walls, or add a considered edge to residential and commercial interior walls. It is also suited to bathroom, kitchen, and living room applications where a compact decorative element can clarify the relationship between adjoining tile surfaces.
The V2 color variation indicates variation within the Royal White tone, adding subtle visual movement across individual pieces. With its glossy finish, white color, and 3/4-inch thickness, this 1x6 molding offers a refined finishing detail for contemporary tile compositions.
- Usage recommendation must be confirmed by your installer and depends on application, installation methods and general suitability. Country Floors assumes no liability from any installation and usage recommendations.
Get the most out of your Marble Systems product by following these helpful instructions for installing floor tile. A Few Dos & Don’ts
- Tile may be installed over most structurally sound substrates if they are clean, smooth, dry and free of wax, soap scum and grease and other debris.
- Carefully read and follow all instructions and precautions on the adhesive or mortar package. Mix only enough to be used within 30 minutes.
- Since variation of shades is an inherent characteristic of ceramic tile, mix tiles from several cartons as you set, for a blended effect.
- Order extra material for cuts, spare tiles, and waste.
- If material is face taped, remove tape after installation.
- Be sure to calculate exact tile needed for your surface before installation.
- If you are short of material do not start installation until you have all the tile that blends. Additional shipments may not match the tile from previous shipment.
- If you do order additional tile for an older job be sure to match color lots before installation.
Step 1: Surface Preparation
Tile may be installed over most structurally sound substrates, if they are clean, smooth, dry and free of wax, soap scum and grease. Any damaged, loose or uneven areas must be repaired, patched and leveled. Remove any moldings, trim, appliances, etc., which could interfere with installation. Door jambs may be undercut for tile to slip under. We recommend waterproofing most floors to prevent surface seeping.
Step 2: Layout
Begin by marking the center point of all four walls. Snap chalk lines between the center points of opposite walls, which will intersect at the center of room. Make sure they›re perfectly square, and adjust if necessary. Next, lay out a row of loose tiles along the center lines in both directions, leaving spaces for uniform joints (use tile spacers). If this layout leaves cuts smaller than 1/2 tile at walls, adjust the center line by snapping a new line 1/2 tile closer to the wall. Repeat along other center line if necessary. Now divide the room into smaller grids (approx. 2' x 3') by snapping additional lines parallel to center lines.
Step 3: Applying Adhesive
Select the right adhesive for the substrate you're using. Carefully read and follow all instructions and precautions on the adhesive or mortar package. Mix only enough to be used within 30 minutes. Using the type of trowel recommended on the adhesive package spread a 1/4" coat on the surface of one grid area, using the flat side of the trowel. Do not cover guidelines. Next, use the notched side of trowel to comb adhesive into standing ridges by holding trowel at a 45-degree angle. Then remove excess adhesive, leaving a uniform, ridged setting bed. Don't spread a larger area than can be set in 15 minutes.
We recommend using white good quality thin set such as Mapei, Laticrete, or Ardex.
Some black marbles, white marbles, dolomites, and green marbles may have to be installed with Moisture sensitive thin set. Please check with the manufacturer.
Step 4: Cutting Tile
Carefully measure tiles to be cut and mark with a pencil or felt-tip pen. Make straight or diagonal cuts with a tile cutter, curved cuts with a nipper (chipping away small pieces for best results) and full-length curved cuts with a rod saw. Sharp-cut edges may be smoothed with a carborundum stone.
Step 5: Setting Tile
Variation of shades is an inherent characteristic of marble, stone and ceramic tile – mix tiles from several cartons as you set, for a blended effect. Begin installing tiles in the center of the room, one grid at a time. Finish each grid before moving to the next. Start with the first tile in the corner of the grid and work outward. Set tiles one at a time using a slight twisting motion. Don't slide tiles into place. Insert tile spacers as each tile is set, or leave equal joints between tiles. Fit perimeter tiles in each grid last, leaving 1/4" gap between tile and wall. Any rectangle porcelain should never be set in a running bond pattern, rather no more than a 1/3 overlap; the joint should be widened to 3/16" and use of a large unit porcelain mortar should be employed. When grid is completely installed, tap in all tiles with a rubber mallet or hammer and wood block to ensure a good bond and level plane. Remove excess adhesive from joints with a putty knife and from tile with a damp sponge. Do not walk on tiles until they are set (usually in 24 hours).
Step 6: Grouting Joints
Generally, you should wait about 24 hours before grouting (refer to the adhesive package for specifics). Carefully read and follow all instructions and precautions on the grout package. Make only enough to use in about 30 minutes. Remove tile spacers and spread grout on the tile surface, forcing down into joints with a rubber grout float or squeegee. Tilt the float at a 45-degree angle. Remove excess grout from surface immediately with the edge of float. Tilt it at a 90-degree angle and scrape it diagonally across tiles. Wait 15-20 minutes for grout to set slightly, then use a damp sponge to clean grout residue from surface and smooth the grout joints. Rinse sponge frequently and change water as needed. Let dry until grout is hard and haze forms on tile surface, then polish with a soft cloth. Rinse again with sponge and clean water if necessary. Wait 72 hours for heavy use. Don't apply sealers or polishes for three weeks, and then only in accordance with manufacturer's recommendations.
For travertine tiles, materials with holes, aqua forte etc. use a grout release before grouting. You can also a sealer before grouting. This will help you clean the grout easier.
MARBLE SYSTEMS AND ITS AFFILIATES ARE NOT RESPONSIBLE FOR ANY CLAIMS AS A RESULT OF THESE SUGGESTIONS. YOU MUST USE A PROFESSIONAL MARBLE INSTALLER AND PREMIUM SETTING MATERIALS.

The Story Behind Antiqued Mallorca
Long before they became tile, these patterns lived in cloth.
The Lenguas Mallorquinas: the "tongues of Mallorca" are among the most recognizable woven fabrics of the Mediterranean.
Their distinctive blurred, flame-like motifs were crafted by Spanish textile weavers and refined by French artisans from the mid-1800s onward, using a painstaking dye-resist technique that gave each length of fabric its signature softness and movement.
Hung in island villas and draped across sun-warmed rooms, these textiles became part of the visual language of Mallorca itself.The Antiqued Mallorca Collection is our tribute to that heritage.
Rather than copy the cloth, we reinterpret its spirit (the rhythm of the weave, the gentle imperfection of hand-dyed pattern, the way color seems to fade and pool.)
Rendered on our own terracotta, the collection brings the warmth of woven fabric into architecture, where it can live on a wall for generations the way the original textiles lived in island homes.
Why We Love Antiqued Mallorca
Drawn from real textile heritage. Not a trend, a pattern language rooted in 19th-century Mediterranean weaving.
Six patterns, one mood. Each design stands alone or layers together, unified by the same faded, sun-washed palette.
Color that whispers. Warm beige, sand, and taupe meet faded blush and cool indigo for pattern that never overwhelms a room.
Terracotta warmth. A natural clay body brings depth and character no porcelain can imitate.
Imperfect on purpose. Soft irregularity and surface movement give every wall a handmade, collected-over-time feel.
Material Character
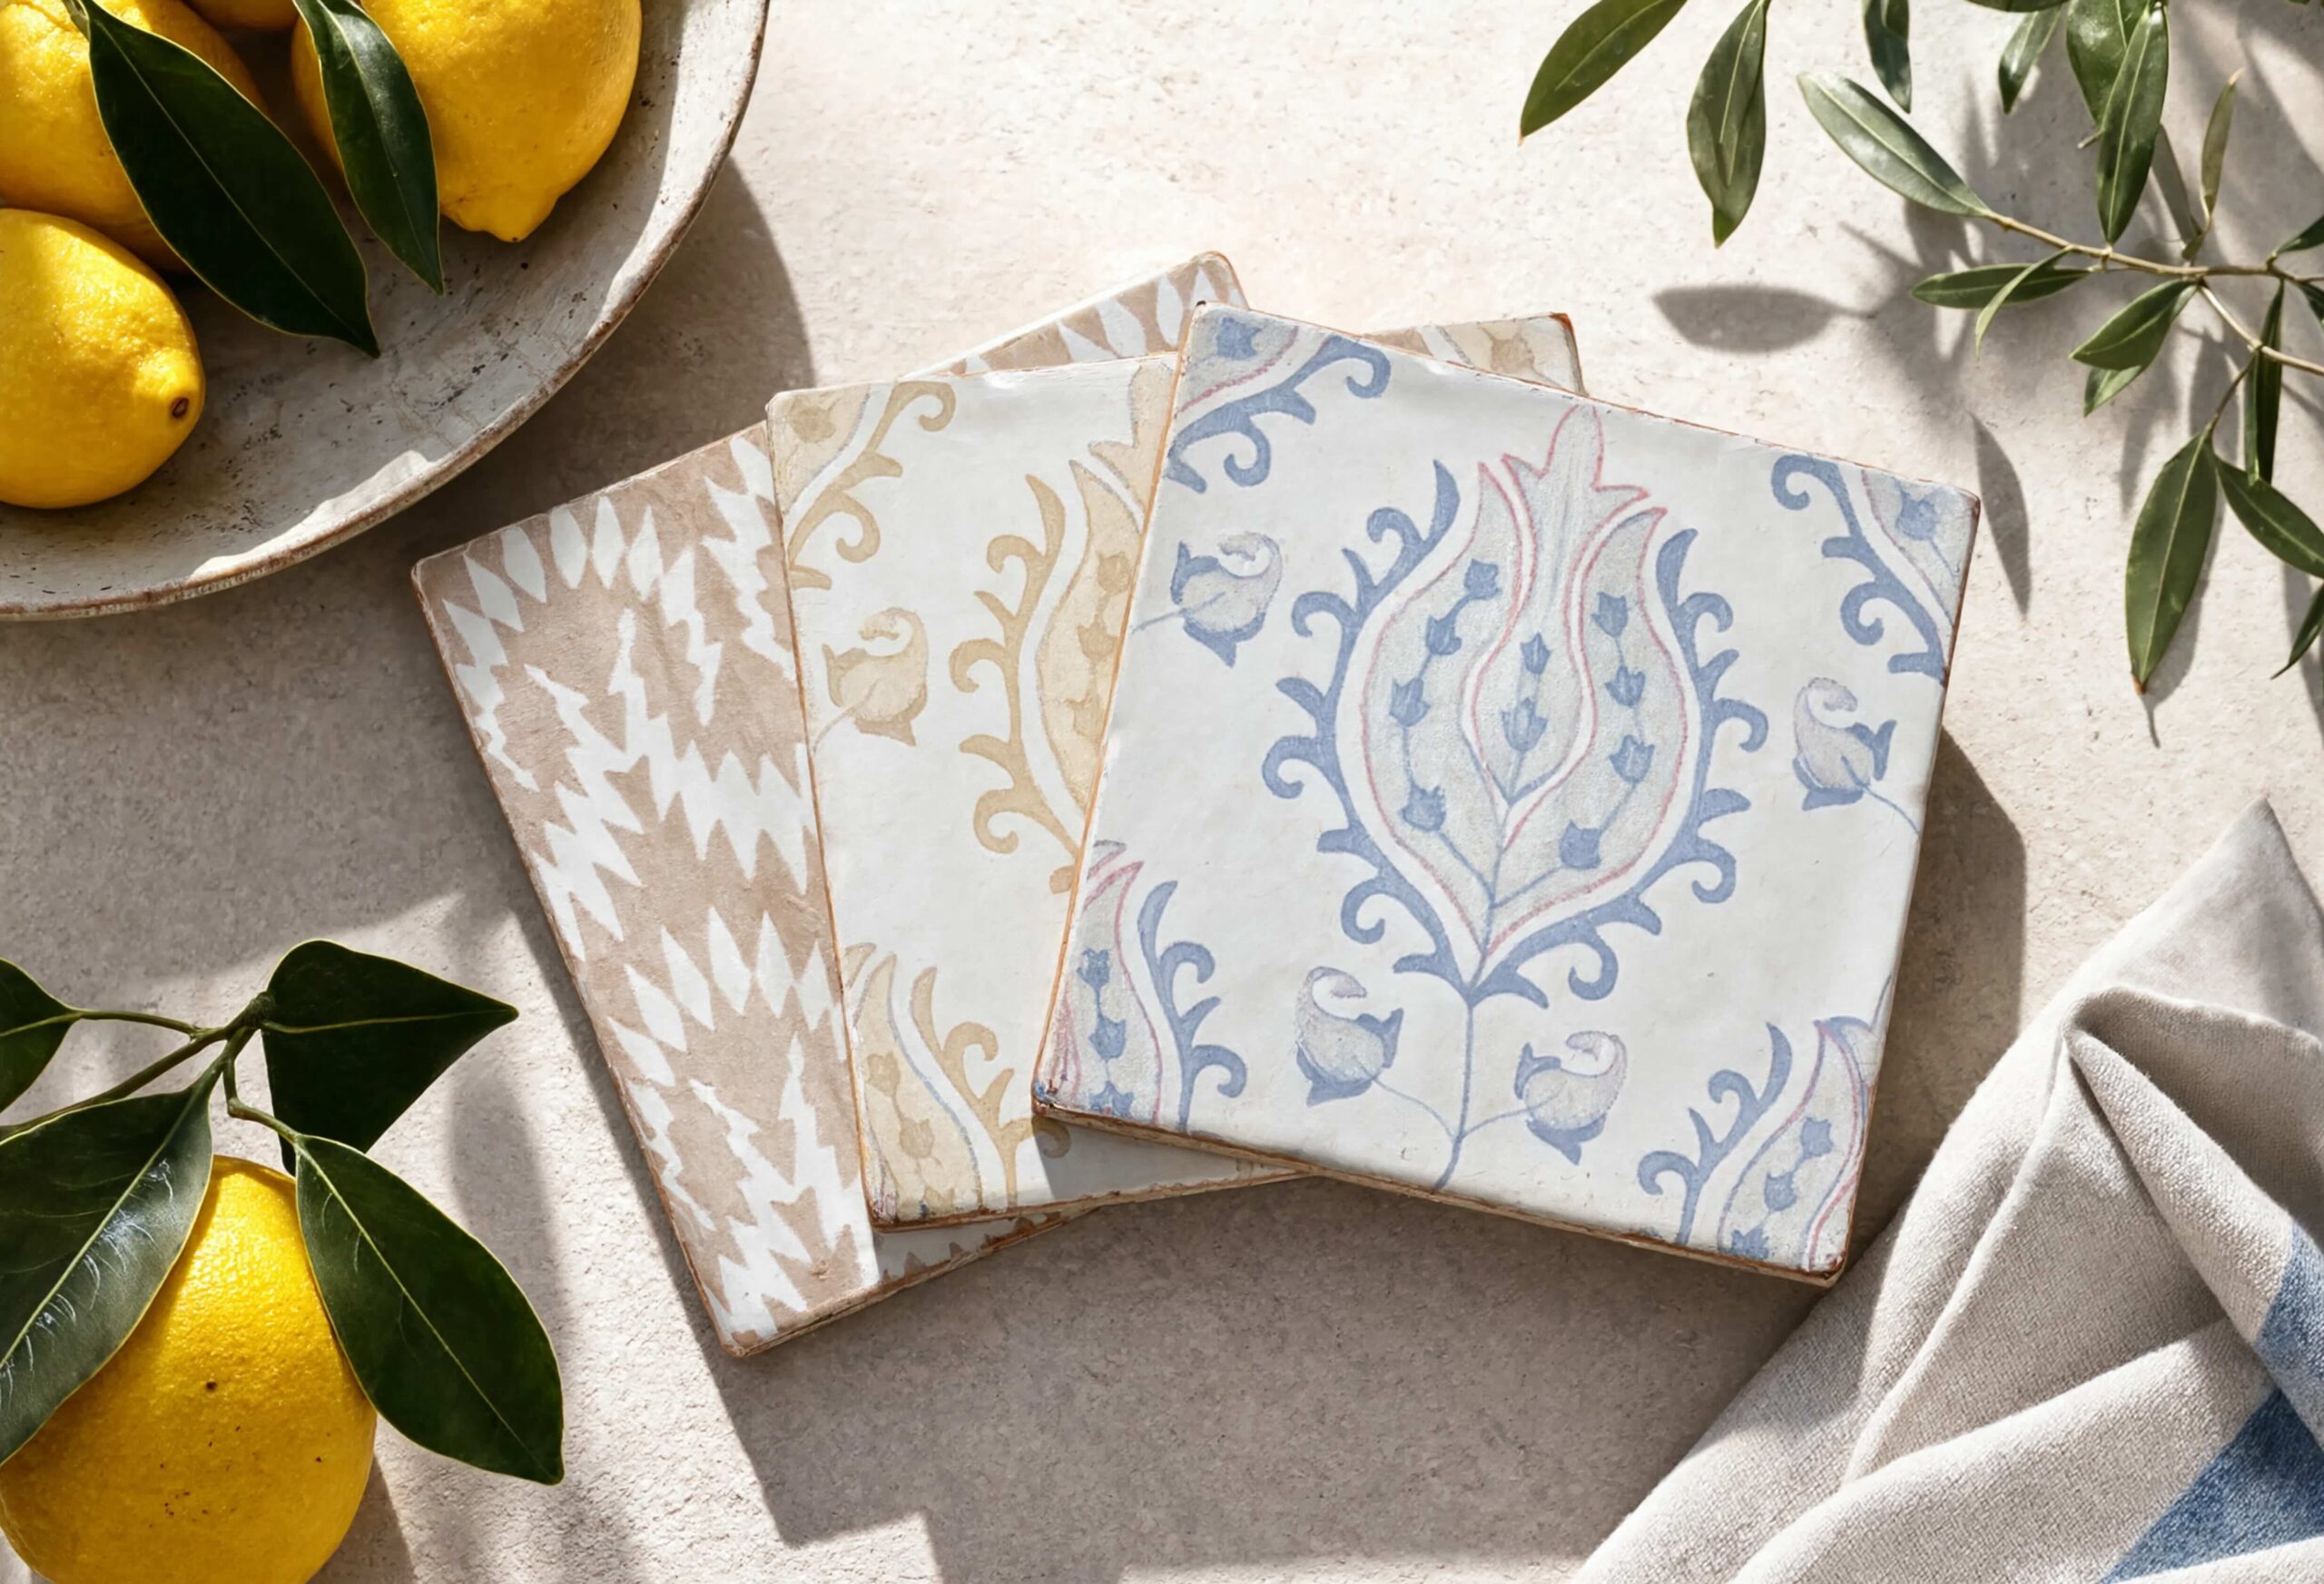
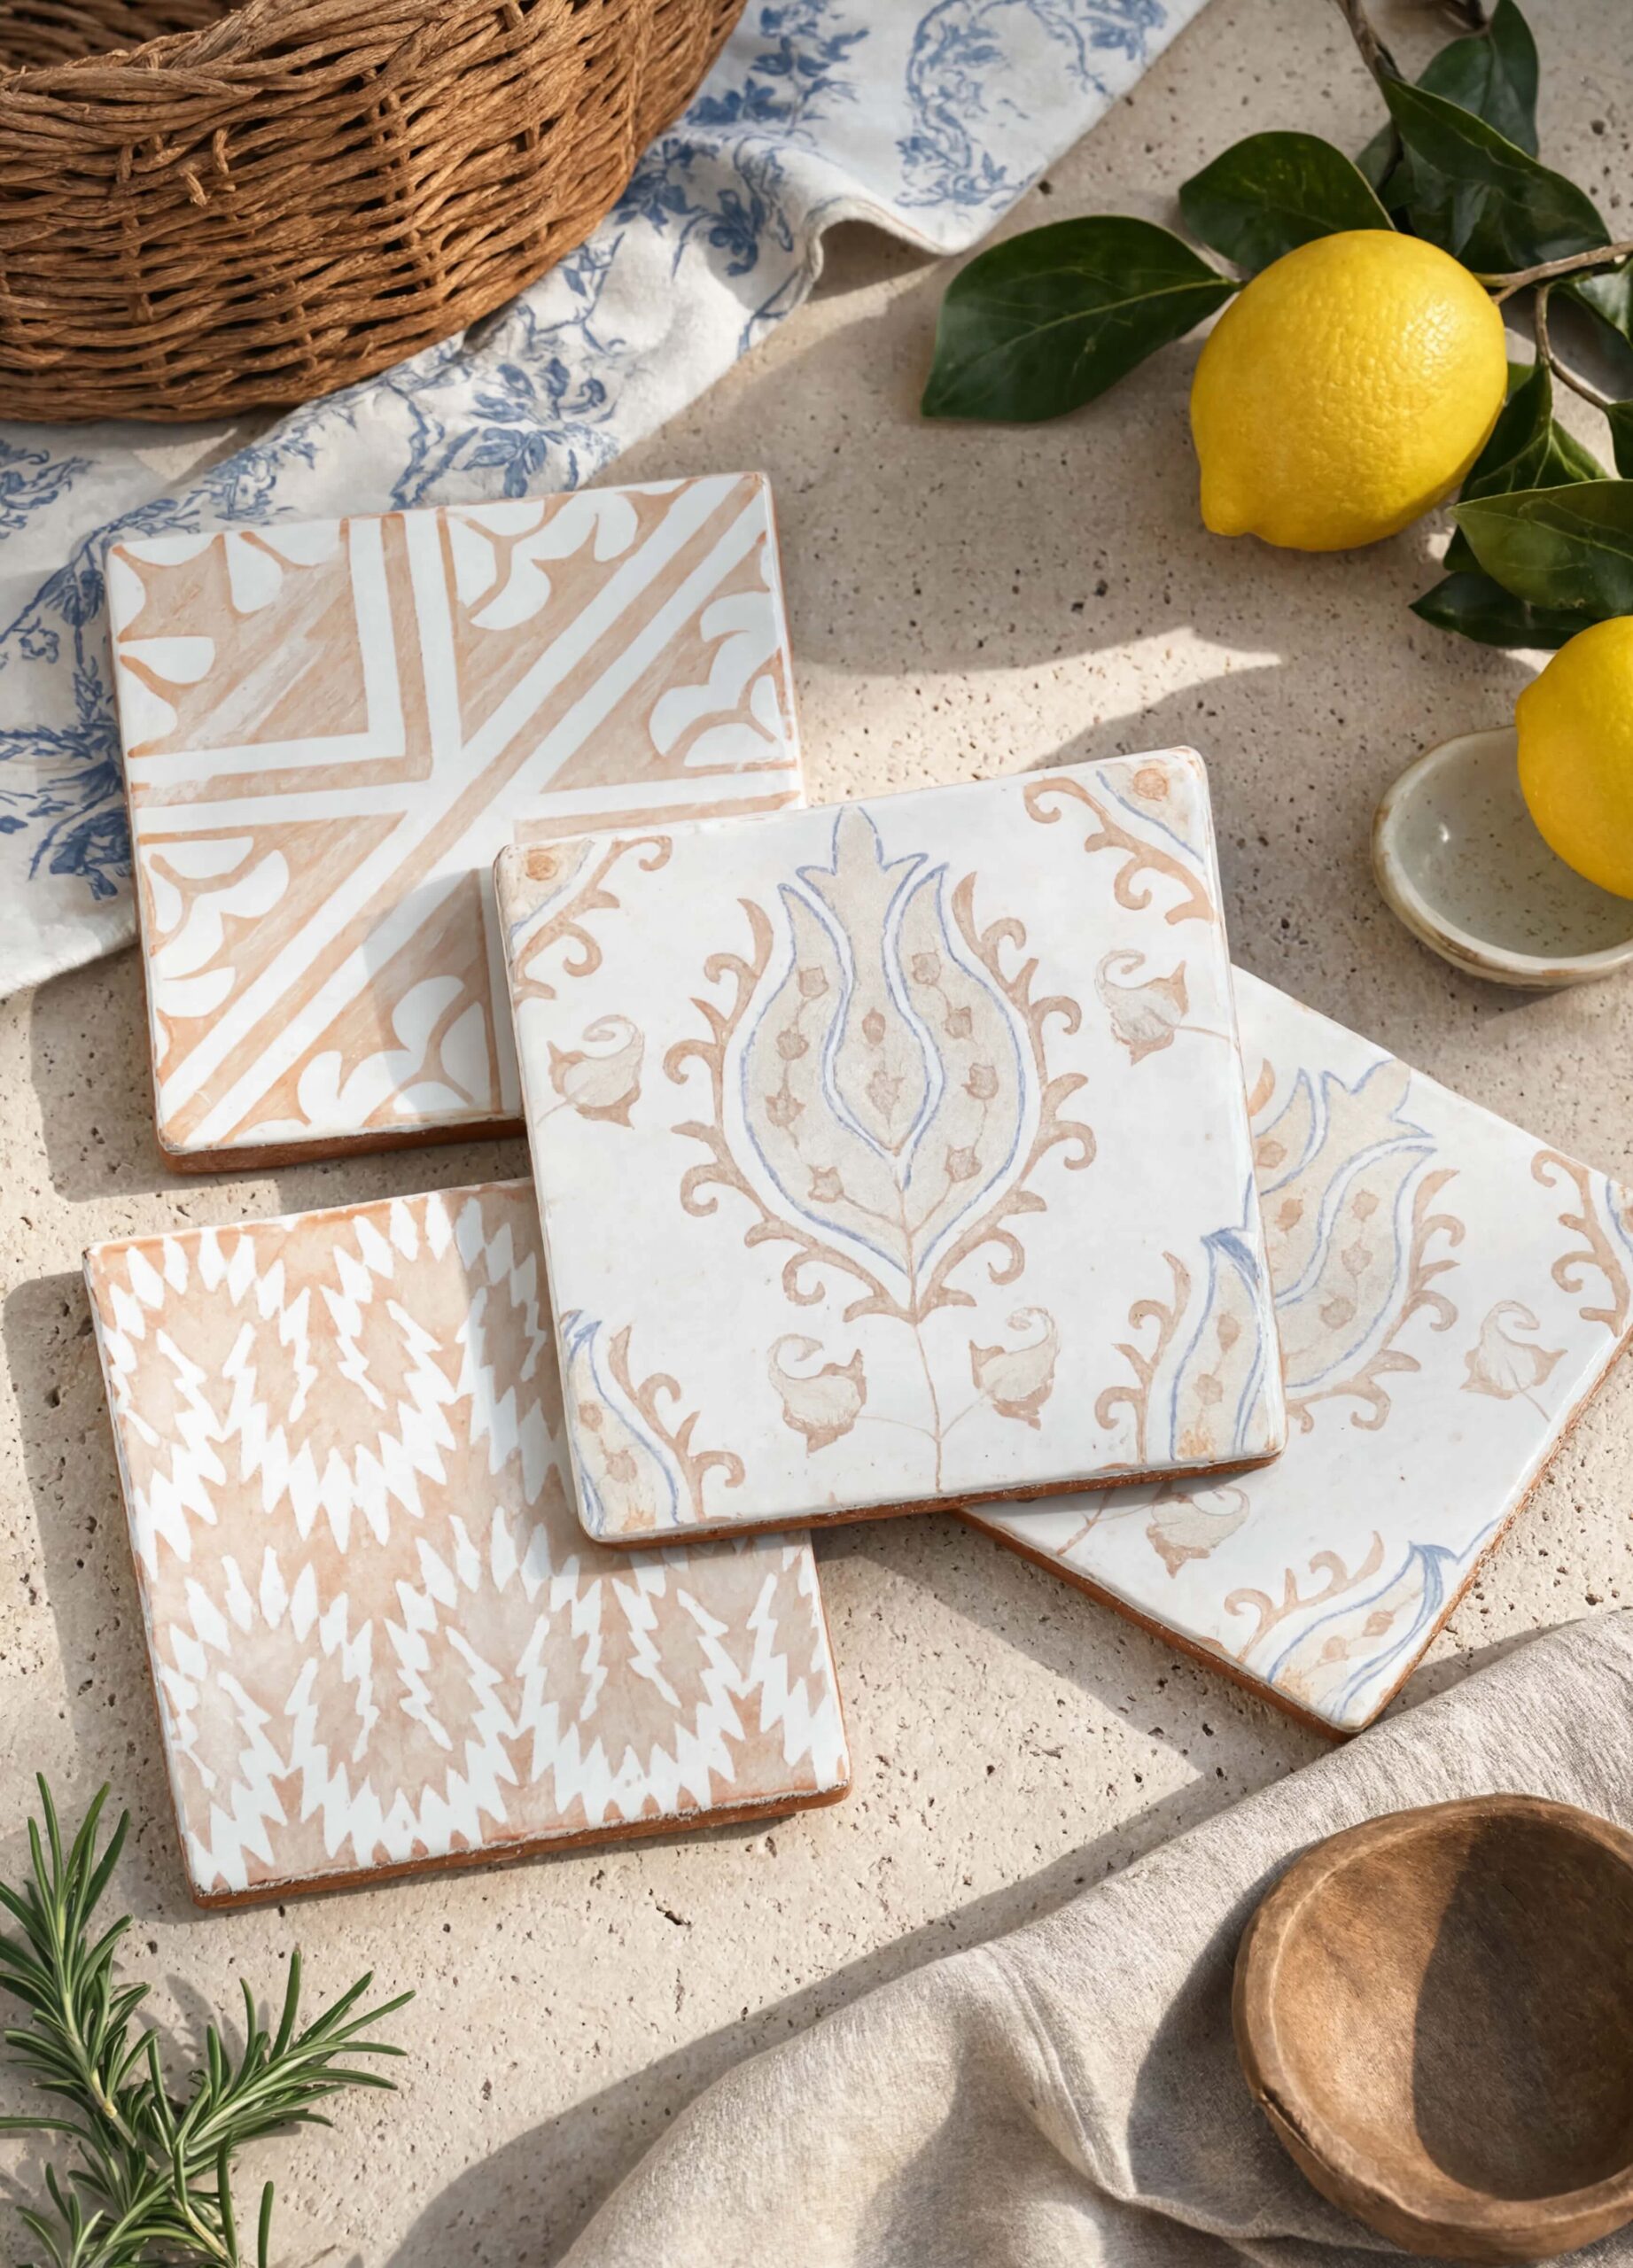
Every tile in the collection is produced on Country Floors' own 6" × 6" terracotta, a base chosen for its honesty and warmth.
Terracotta is one of the oldest architectural materials in the Mediterranean, and its appeal is elemental: a natural clay body with subtle tonal shifts and a grounded, earthen warmth.
Here, that body is finished with a white glaze that carries the pattern, while the exposed terracotta along each edge reveals the raw material beneath, a quiet reminder that this is real fired clay, not a printed imitation.
The handcrafted feel is part of the design: slight movement in the surface, gentle variation tile to tile, and the kind of tactile depth that only natural materials provide.