 Save to my project

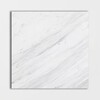
Volakas Venus Polished Marble Tile
If this is a commercial project, please contact us for pricing and samples.
Commercial Project quote/sampleWhat we love
- Every single piece is unique
- Classic timeless beauty
- Wears well with time
- Hypoallergenic, does not trap dust or allergens
- Aesthetic appeal, create a sense of luxury and sophistication
- Unique patterns and features that adds drama and interest to the design
- Variety, wide range of colors, textures, and types available, that could fit any design vision
- Custom sizes and complimentary pieces may be available for steps, risers, vanity top, and countertop
Please Consider
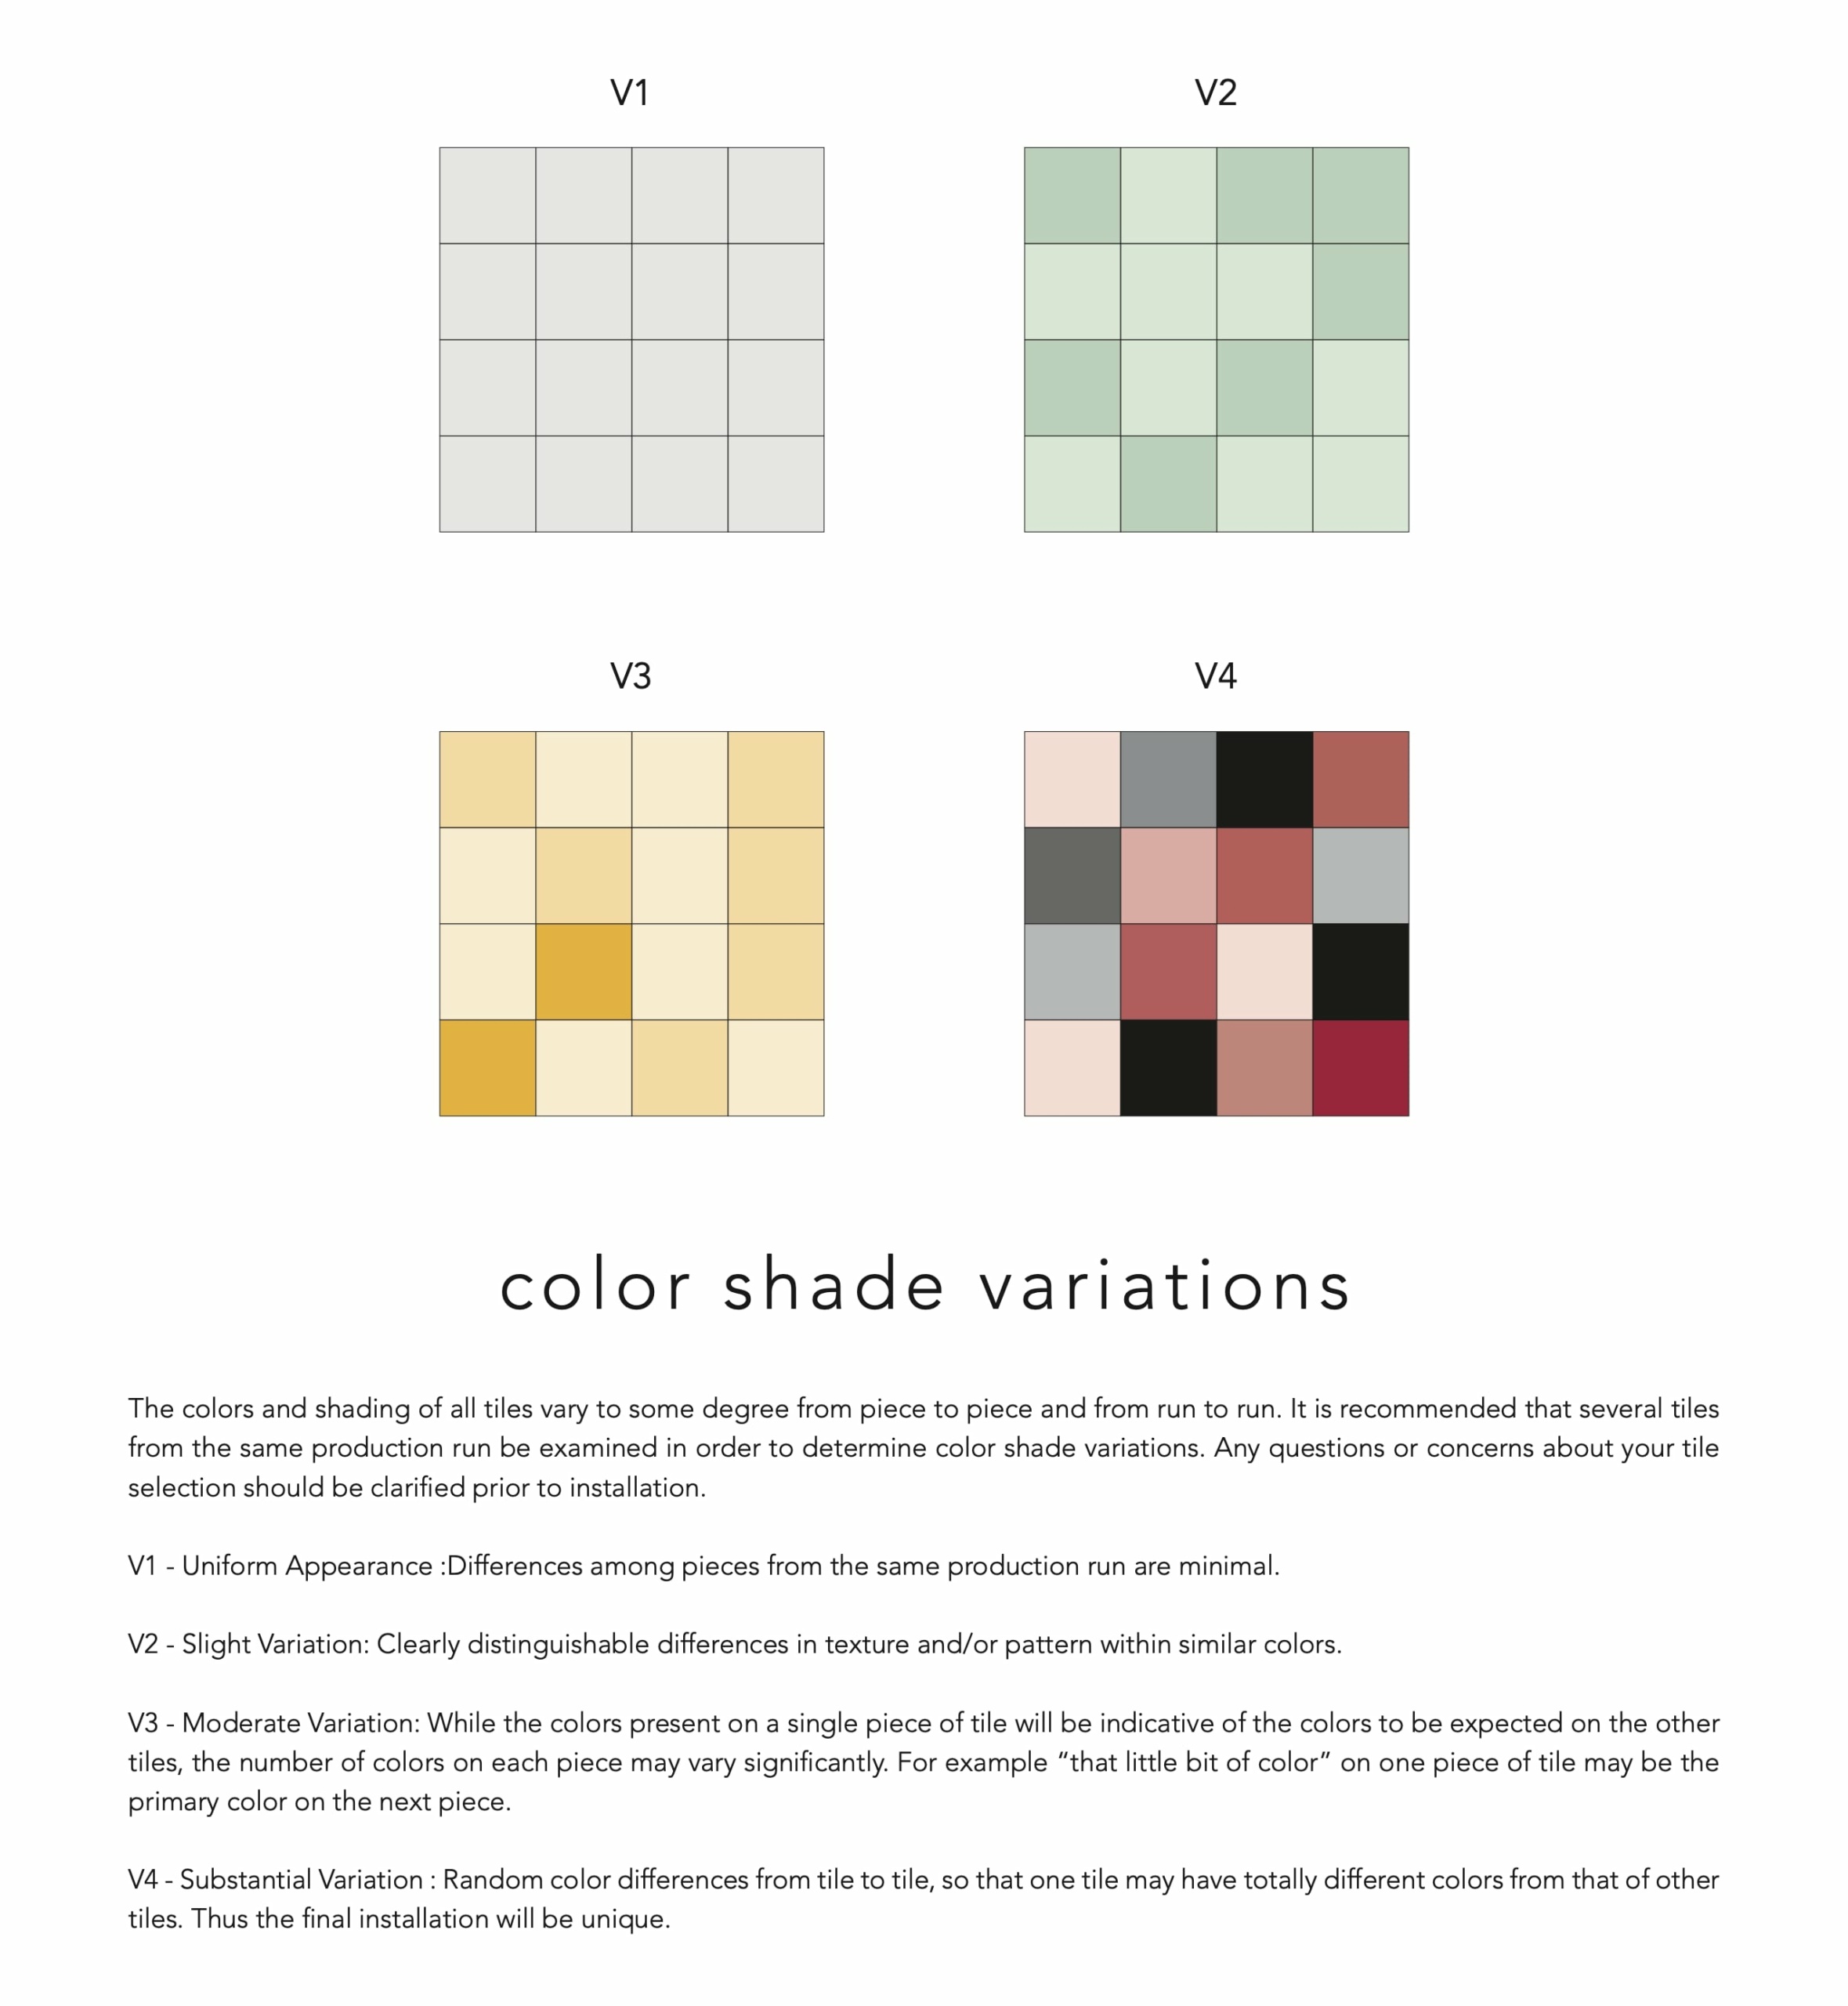
- All natural stone has variation. No two pieces are alike
- Blend and dry set before installation
- Must be sealed periodically
- We recommend premium white thin set
- We recommend waterproofing sub floor
- Essential to consider the specific type of natural stone and it's suitability for the intended use
- Natural stone tiles do require proper care and sealing
- Color and pattern inherently variable, with variations in color, veining and texture, understand and appreciate these natural variations and make sure they align with your design vision
- Finish, select a finish that suits both your design intent and functional needs
- Substrate prep
- Adhesive selection
- Tile layout and dry set
- Tile spacing
- Professional installation
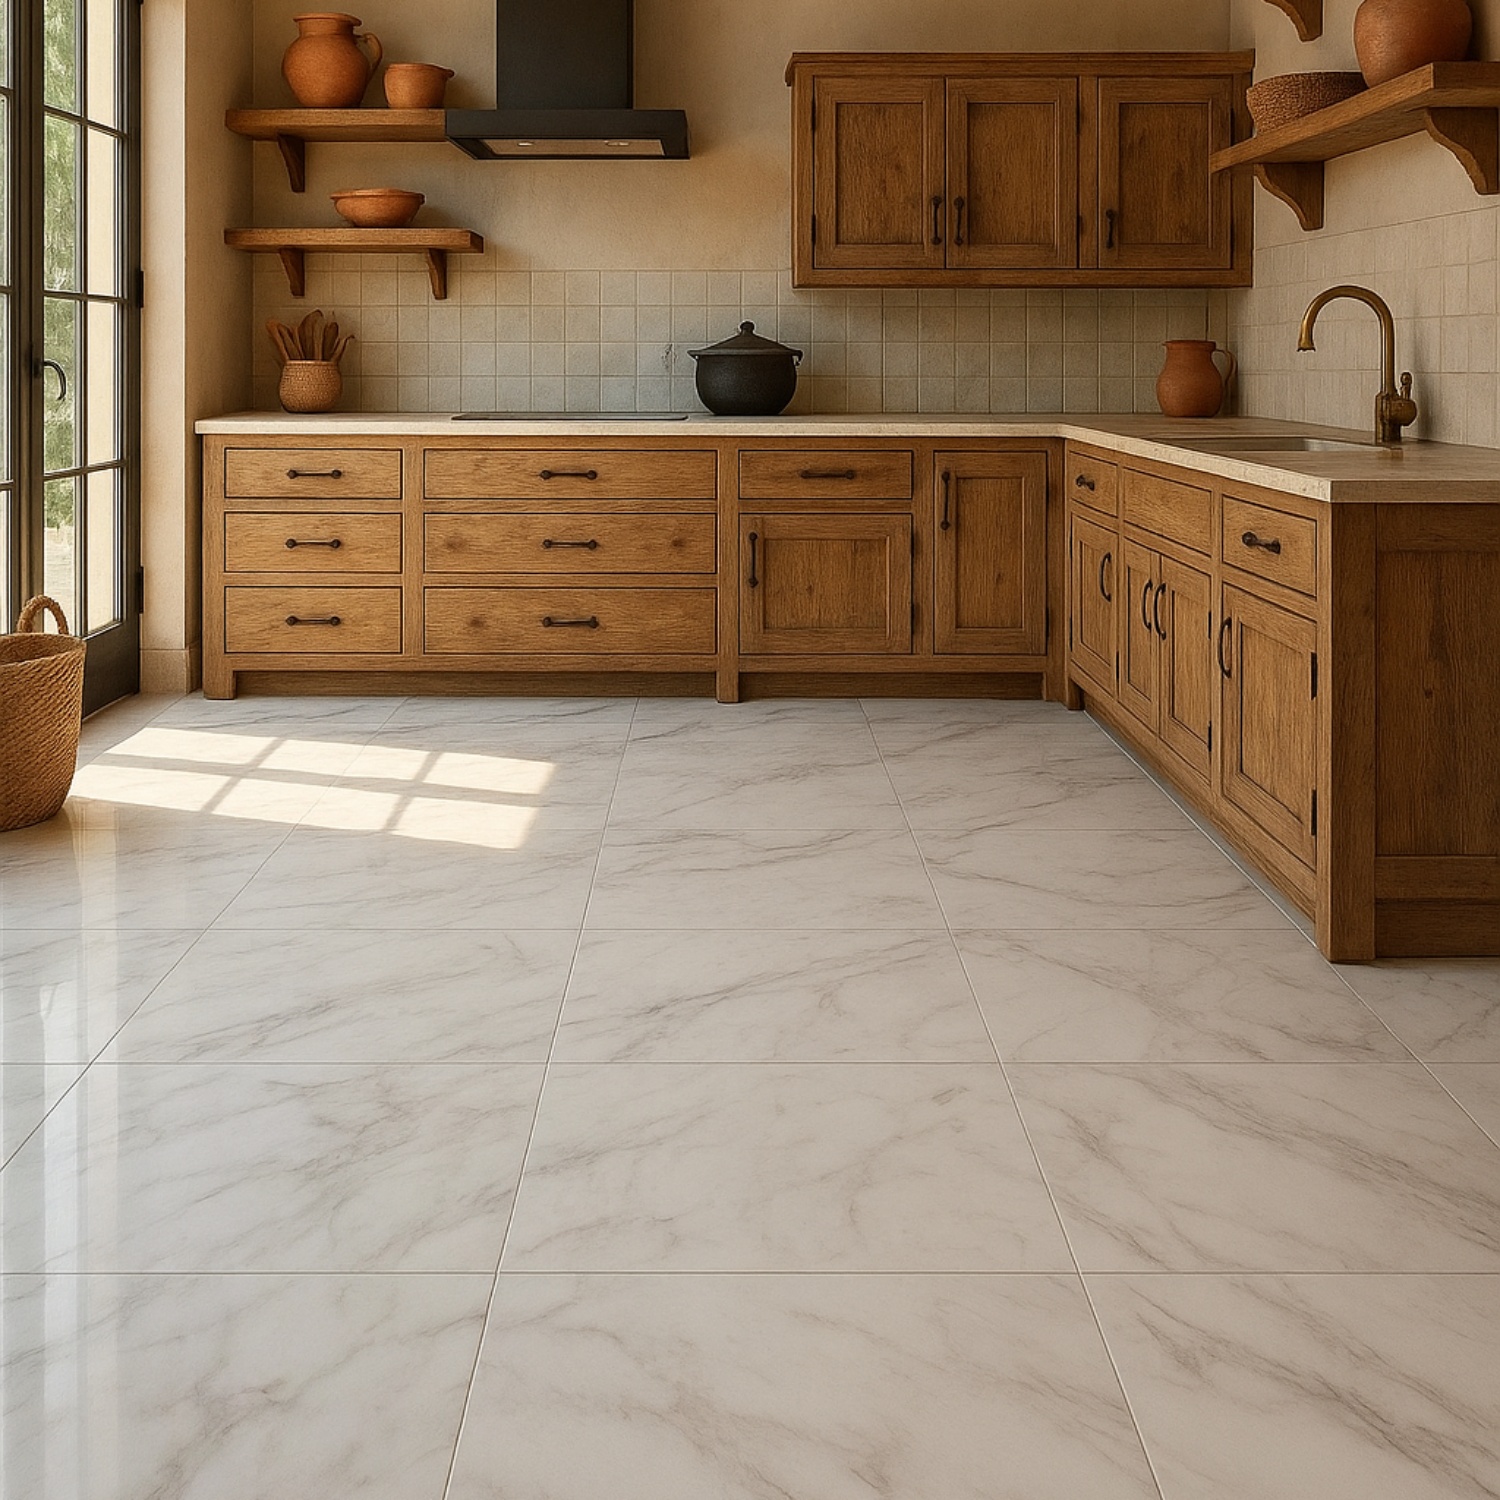
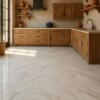
Volakas Venus 24x24 Polished Marble Tile: Ethereal White Marble Floors
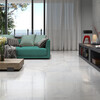
Imagine walking into a high-end resort villa perched along the Aegean, floors softly glowing with pure white marble that feels chill under your feet and looking ethereal in light. That’s the experience of Volakas Venus 24×24 Polished Porcelain Backed Marble Tile will offer you, in your apartment or commercial space. This is natural marble floor tile, featuring a pale creamy-white Volakas marble surface with a luxurious polished finish, reinforced with a porcelain backing to ensure lasting beauty, looks like a visual treasure.
Key Features
Genuine marble tile with porcelain backing: 100% natural marble tile. No printed patterns on the marble, reinforced with porcelain for extra durability.
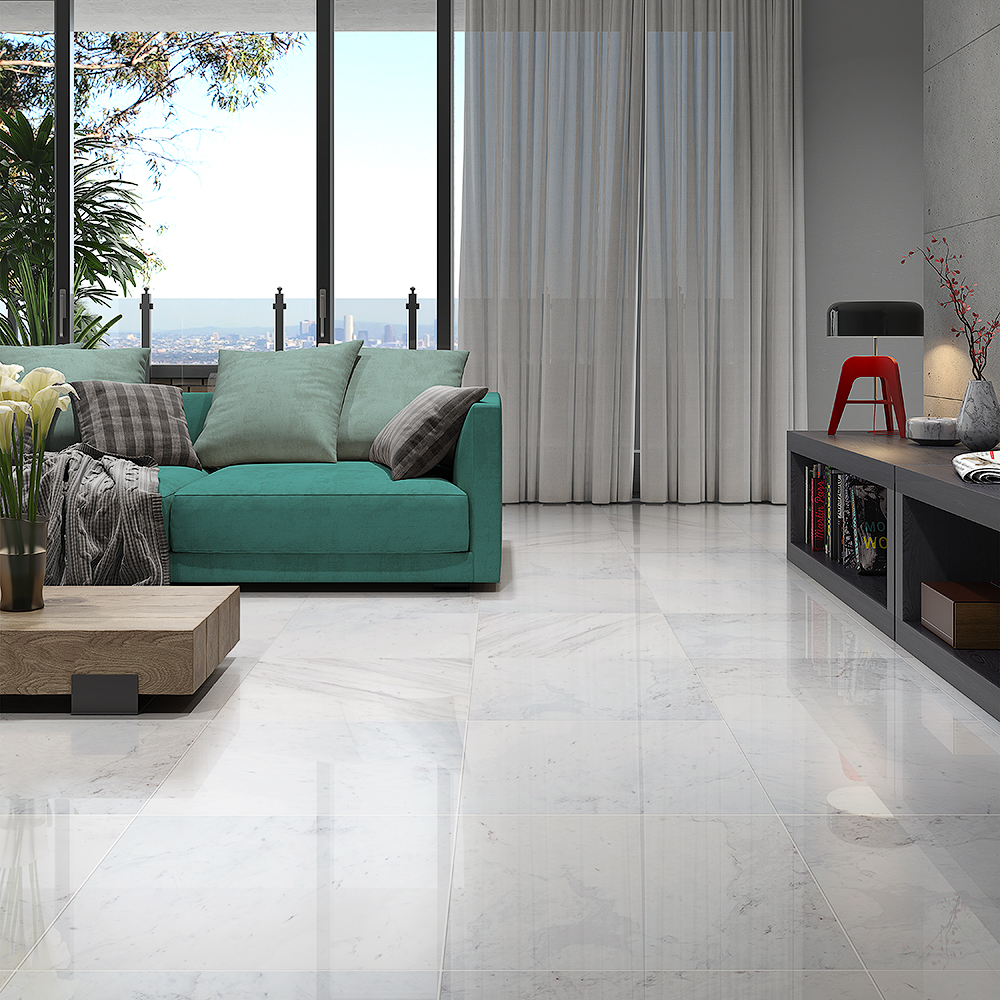
Polished marble finish: Reflects ambient light across the space to create a luminous, ethereal effect, perfect in living room designs or upscale interiors.
24×24 marble tile for grand floors: Large format marble tile minimizes grout lines and expands visual appeal. Ideal for hotel lobbies, living rooms, or gallery-like interiors.
½″ thickness for easier handling and installation: Feels substantial underfoot but remains easier to transport and lay than thicker marble slabs.
Covers ~3.88 sq ft per tile: Speeds up large installations and provides a seamless visual flow all around your floor tile design.
Why Porcelain Backing Matters?
Porcelain backed marble structure improves stability; resists cracking, edge chipping, and shifting, even in high-traffic areas. Have a space that worries you about all the bad possibilities? Choose this one and leave the worry behind.
Low porosity means low maintenance. It requires fewer sealings and cleans easily, blending luxury with everyday practicality.
Eco-conscious natural stone option: Thinner marble layer uses fewer raw materials but preserves the elegance of real natural stone tiles.
Marble vs. Porcelain Tile: The Smart Choice
Over marble look porcelain tiles: Authentic Volakas marble tile with natural marble veining and texture, offering a depth only you can find on marble and one of a kind character.
Over traditional marble tiles: Easier to install and transport, especially in the large 24x24 tile format. So you won't be worrying about the transportation side! More resilient in daily use thanks to porcelain reinforcement. Better value for large-scale projects while maintaining genuine marble aesthetics.
Ideal Applications for Volakas Venus 24x24 Marble Tile
Hotel lobby or upscale resort flooring: Brings a mystic Mediterranean flow indoors, with enduring strength. Use it with beige toned linen and neutrals, add some terracotta pots, and see how magic works!
Luxury living room or open-plan interiors: Provides a refined backdrop, visually cohesive across broad areas. Use it in your living room floor with your favourite painting and experience the luxury to its fullest.
Bathroom floors or shower surrounds: Classic marble look paired with the practical ease of care. But be careful about your bathroom floor tiles, in a polished finish.
High-end commercial or showroom spaces: Elegant, seamless marble appeal that can handle foot traffic with style.
Discover the Most Durable Marble Tile Collection on Country Floors
Order a sample today to preview in your home’s lighting, next to cabinetry, paint, or fabrics. Or visit our tile showroom near you to experience it in person and explore complementary porcelain backed marble options for your project.
Product Specifications
Get the most out of your Country Floors product by following these helpful instructions for installing floor tile. A Few Dos & Don’ts
- Tile may be installed over most structurally sound substrates if they are clean, smooth, dry and free of wax, soap scum and grease and other debris.
- Carefully read and follow all instructions and precautions on the adhesive or mortar package. Mix only enough to be used within 30 minutes.
- Since variation of shades is an inherent characteristic of ceramic tile, mix tiles from several cartons as you set, for a blended effect.
- Order extra material for cuts, spare tiles, and waste.
- If material is face taped, remove tape after installation.
- Be sure to calculate exact tile needed for your surface before installation.
- If you are short of material do not start installation until you have all the tile that blends. Additional shipments may not match the tile from previous shipment.
- If you do order additional tile for an older job be sure to match color lots before installation.
Tile may be installed over most structurally sound substrates, if they are clean, smooth, dry and free of wax, soap scum and grease. Any damaged, loose or uneven areas must be repaired, patched and leveled. Remove any moldings, trim, appliances, etc., which could interfere with installation. Door jambs may be undercut for tile to slip under. We recommend waterproofing most floors to prevent surface seeping.
Begin by marking the center point of all four walls. Snap chalk lines between the center points of opposite walls, which will intersect at the center of room. Make sure they›re perfectly square, and adjust if necessary. Next, lay out a row of loose tiles along the center lines in both directions, leaving spaces for uniform joints (use tile spacers). If this layout leaves cuts smaller than 1/2 tile at walls, adjust the center line by snapping a new line 1/2 tile closer to the wall. Repeat along other center line if necessary. Now divide the room into smaller grids (approx. 2' x 3') by snapping additional lines parallel to center lines.
Select the right adhesive for the substrate you're using. Carefully read and follow all instructions and precautions on the adhesive or mortar package. Mix only enough to be used within 30 minutes. Using the type of trowel recommended on the adhesive package spread a 1/4" coat on the surface of one grid area, using the flat side of the trowel. Do not cover guidelines. Next, use the notched side of trowel to comb adhesive into standing ridges by holding trowel at a 45-degree angle. Then remove excess adhesive, leaving a uniform, ridged setting bed. Don't spread a larger area than can be set in 15 minutes.
We recommend using white good quality thin set such as Mapei, Laticrete, or Ardex.
Some black marbles, white marbles, dolomites, and green marbles may have to be installed with Moisture sensitive thin set. Please check with the manufacturer.
Carefully measure tiles to be cut and mark with a pencil or felt-tip pen. Make straight or diagonal cuts with a tile cutter, curved cuts with a nipper (chipping away small pieces for best results) and full-length curved cuts with a rod saw. Sharp-cut edges may be smoothed with a carborundum stone.
Variation of shades is an inherent characteristic of marble, stone and ceramic tile – mix tiles from several cartons as you set, for a blended effect. Begin installing tiles in the center of the room, one grid at a time. Finish each grid before moving to the next. Start with the first tile in the corner of the grid and work outward. Set tiles one at a time using a slight twisting motion. Don't slide tiles into place. Insert tile spacers as each tile is set, or leave equal joints between tiles. Fit perimeter tiles in each grid last, leaving 1/4" gap between tile and wall. Any rectangle porcelain should never be set in a running bond pattern, rather no more than a 1/3 overlap; the joint should be widened to 3/16" and use of a large unit porcelain mortar should be employed. When grid is completely installed, tap in all tiles with a rubber mallet or hammer and wood block to ensure a good bond and level plane. Remove excess adhesive from joints with a putty knife and from tile with a damp sponge. Do not walk on tiles until they are set (usually in 24 hours).
Generally, you should wait about 24 hours before grouting (refer to the adhesive package for specifics). Carefully read and follow all instructions and precautions on the grout package. Make only enough to use in about 30 minutes. Remove tile spacers and spread grout on the tile surface, forcing down into joints with a rubber grout float or squeegee. Tilt the float at a 45-degree angle. Remove excess grout from surface immediately with the edge of float. Tilt it at a 90-degree angle and scrape it diagonally across tiles. Wait 15-20 minutes for grout to set slightly, then use a damp sponge to clean grout residue from surface and smooth the grout joints. Rinse sponge frequently and change water as needed. Let dry until grout is hard and haze forms on tile surface, then polish with a soft cloth. Rinse again with sponge and clean water if necessary. Wait 72 hours for heavy use. Don't apply sealers or polishes for three weeks, and then only in accordance with manufacturer's recommendations.
For travertine tiles, materials with holes, aqua forte etc. use a grout release before grouting. You can also a sealer before grouting. This will help you clean the grout easier.