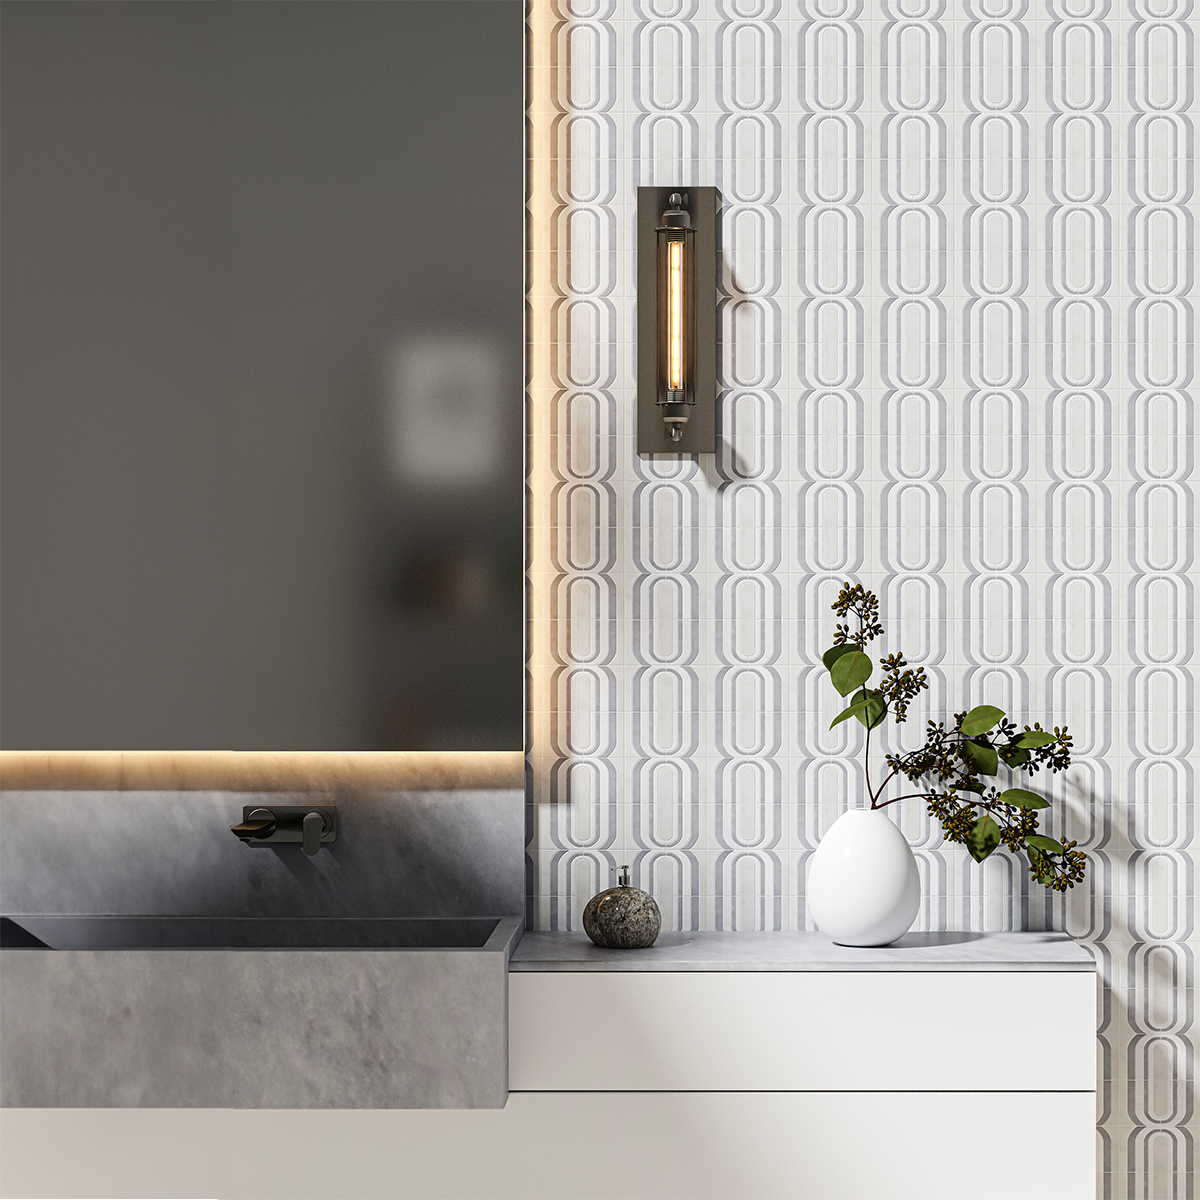


Allure Light,Avalon,Snow White,White,Gray Multi Finish Clovis Marble Mosaic 13 3/8"x14 15/16"x3/8"
Price Tier:
- * Est. coverage: 1.39 sqft / per piece• 8.34 sqft / per box
Product Specifications
About The Tile:
Clovis Marble Mosaic | Neo Deco Marble Wall Tile in Cool Grey & White
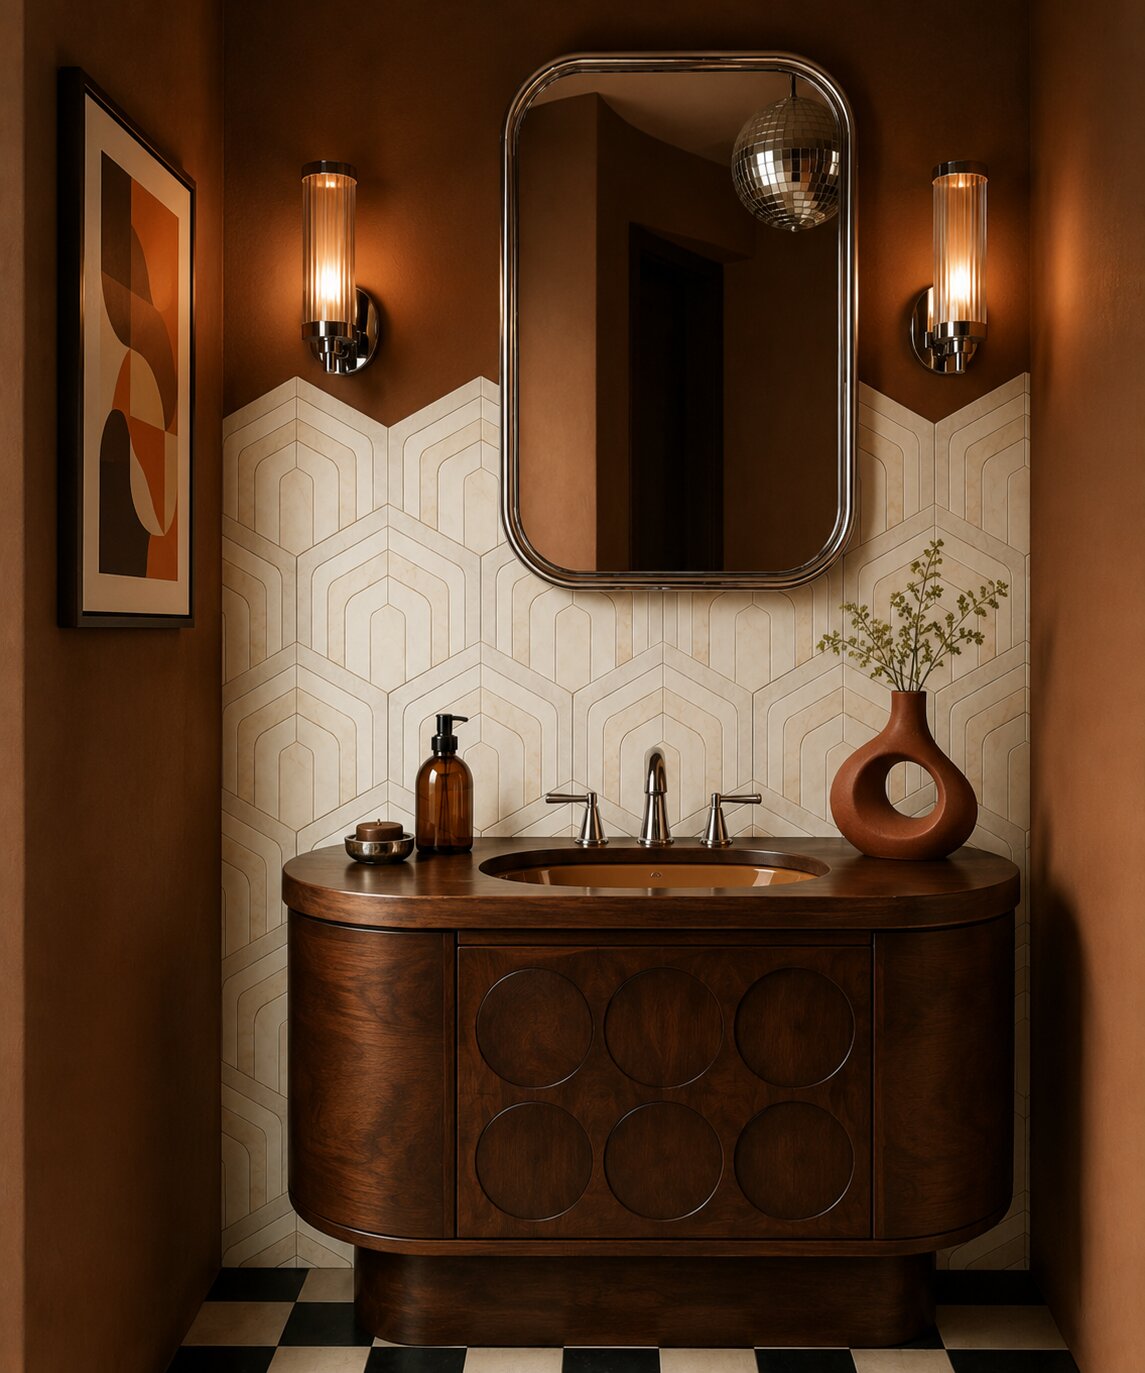
Not every 70s design has to bring all the colors of the rainbow; the pattern can make it all by itself. Let’s watch how Clovis does it in Neo Deco. Clovis is that tile. Concentric arch and stadium oval forms in Avalon Gray marble repeat across Allure Light and Snow White fields in a pattern that is architectural, op-art adjacent, and completely unhurried. Where the rest of the Retro Groove Collection leans into jewel tones and warm drama, Clovis works in a cooler color scheme, unlike the other family members of the collection, the kind of cool gray marble mosaic tile that a designer chooses when they want the geometry to do everything and the colour to step back. It is the quiet maximalism that this year’s most loved and saved Neo Deco interiors are increasingly reaching for.Product Details
- Material: Allure Light Marble, Avalon Gray Marble, Snow White Marble
- Finish: Multi Finish (Polished & Honed)
- Size: 13 3/8" × 14 15/16" × 3/8"
- Style: Neo Deco, Quiet Maximalism, Op Art, 70s Geometric, Mid Century Modern
Recommended Applications
- Neo Deco bathroom wall tile & shower wall: Think about a wet room with a Clovis shower wall; that’s the whole Neo Deco design touch you’d like to bring into your space with marble mosaic shower installations that look like a boutique hotel and live like a private spa.
- Mosaic Backsplash: Against white oak or deep green kitchen cabinetry, Clovis may be the statement backsplash tile without the fear of a color clash; the pattern carries the room, the palette lets everything else breathe.
- Accent wall tile for living room or bedroom: The concentric arch pattern at scale is quietly hypnotic. A single feature wall in a living room or bedroom in Clovis is the kind of detail guests notice on their third visit, not their first, and that's exactly the point.
- Commercial interior wall: Spa reception areas, hotel corridors, high end retail interiors, such as a floor to ceiling fireplace surround application made with it. Clovis works at a commercial scale because the pattern is the luxury that you’ve been looking for to impress your clients.
- Residential & commercial rated
Why Designers Choose Clovis in Neo Deco Interiors?
- The concentric arch form is one of the most enduring geometric languages in design. It appeared in 70s Op Art, in Mid Century Modern architecture, and it is now at the centre of Neo Art Deco revival. Clovis is architecturally accurate to all three moments simultaneously
- The multi finish tile surface on a cool palette is rarer than on warm palettes; most designers find the polished and honed contrast more surprising and more rewarding when the base material is grey rather than amber.
What we love:
- Every single piece is unique
- Classic timeless beauty
- Wears well with time
- Hypoallergenic, does not trap dust or allergens
- Aesthetic appeal, create a sense of luxury and sophistication
- Unique patterns and features that adds drama and interest to the design
- Variety, wide range of colors, textures, and types available, that could fit any design vision
- Custom sizes and complimentary pieces may be available for steps, risers, vanity top, and countertop
Please Consider:
- All natural stone has variation. No two pieces are alike
- Blend and dry set before installation
- Must be sealed periodically
- We recommend premium white thin set
- We recommend waterproofing sub floor
- Essential to consider the specific type of natural stone and it's suitability for the intended use
- Natural stone tiles do require proper care and sealing
- Color and pattern inherently variable, with variations in color, veining and texture, understand and appreciate these natural variations and make sure they align with your design vision
- Finish, select a finish that suits both your design intent and functional needs
- Substrate prep
- Adhesive selection
- Tile layout and dry set
- Tile spacing
- Professional installation
Interior Floors - Low Traffic
Interior Floors - High Traffic
Shower Floors
Shower Walls
Interior Walls
Exterior Walls
Exterior Floors
Commercial Interior Floors
Commercial Interior Walls
Suitable.
Please consult with your sales rep.
- Usage recommendation must be confirmed by your installer and depends on application, installation methods and general suitability. Country Floors assumes no liability from any installation and usage recommendations.
Width
13 3/8"
Lenght
14 15/16"
Thickness
3/8"
Weight
7.74 lb / per pcs
Coverage
1.39 sqft / per pcs
Get the most out of your Marble Systems product by following these helpful instructions for installing floor tile. A Few Dos & Don’ts
- Tile may be installed over most structurally sound substrates if they are clean, smooth, dry and free of wax, soap scum and grease and other debris.
- Carefully read and follow all instructions and precautions on the adhesive or mortar package. Mix only enough to be used within 30 minutes.
- Since variation of shades is an inherent characteristic of ceramic tile, mix tiles from several cartons as you set, for a blended effect.
- Order extra material for cuts, spare tiles, and waste.
- If material is face taped, remove tape after installation.
- Be sure to calculate exact tile needed for your surface before installation.
- If you are short of material do not start installation until you have all the tile that blends. Additional shipments may not match the tile from previous shipment.
- If you do order additional tile for an older job be sure to match color lots before installation.
Step 1: Surface Preparation
Tile may be installed over most structurally sound substrates, if they are clean, smooth, dry and free of wax, soap scum and grease. Any damaged, loose or uneven areas must be repaired, patched and leveled. Remove any moldings, trim, appliances, etc., which could interfere with installation. Door jambs may be undercut for tile to slip under. We recommend waterproofing most floors to prevent surface seeping.
Step 2: Layout
Begin by marking the center point of all four walls. Snap chalk lines between the center points of opposite walls, which will intersect at the center of room. Make sure they›re perfectly square, and adjust if necessary. Next, lay out a row of loose tiles along the center lines in both directions, leaving spaces for uniform joints (use tile spacers). If this layout leaves cuts smaller than 1/2 tile at walls, adjust the center line by snapping a new line 1/2 tile closer to the wall. Repeat along other center line if necessary. Now divide the room into smaller grids (approx. 2' x 3') by snapping additional lines parallel to center lines.
Step 3: Applying Adhesive
Select the right adhesive for the substrate you're using. Carefully read and follow all instructions and precautions on the adhesive or mortar package. Mix only enough to be used within 30 minutes. Using the type of trowel recommended on the adhesive package spread a 1/4" coat on the surface of one grid area, using the flat side of the trowel. Do not cover guidelines. Next, use the notched side of trowel to comb adhesive into standing ridges by holding trowel at a 45-degree angle. Then remove excess adhesive, leaving a uniform, ridged setting bed. Don't spread a larger area than can be set in 15 minutes.
We recommend using white good quality thin set such as Mapei, Laticrete, or Ardex.
Some black marbles, white marbles, dolomites, and green marbles may have to be installed with Moisture sensitive thin set. Please check with the manufacturer.
Step 4: Cutting Tile
Carefully measure tiles to be cut and mark with a pencil or felt-tip pen. Make straight or diagonal cuts with a tile cutter, curved cuts with a nipper (chipping away small pieces for best results) and full-length curved cuts with a rod saw. Sharp-cut edges may be smoothed with a carborundum stone.
Step 5: Setting Tile
Variation of shades is an inherent characteristic of marble, stone and ceramic tile – mix tiles from several cartons as you set, for a blended effect. Begin installing tiles in the center of the room, one grid at a time. Finish each grid before moving to the next. Start with the first tile in the corner of the grid and work outward. Set tiles one at a time using a slight twisting motion. Don't slide tiles into place. Insert tile spacers as each tile is set, or leave equal joints between tiles. Fit perimeter tiles in each grid last, leaving 1/4" gap between tile and wall. Any rectangle porcelain should never be set in a running bond pattern, rather no more than a 1/3 overlap; the joint should be widened to 3/16" and use of a large unit porcelain mortar should be employed. When grid is completely installed, tap in all tiles with a rubber mallet or hammer and wood block to ensure a good bond and level plane. Remove excess adhesive from joints with a putty knife and from tile with a damp sponge. Do not walk on tiles until they are set (usually in 24 hours).
Step 6: Grouting Joints
Generally, you should wait about 24 hours before grouting (refer to the adhesive package for specifics). Carefully read and follow all instructions and precautions on the grout package. Make only enough to use in about 30 minutes. Remove tile spacers and spread grout on the tile surface, forcing down into joints with a rubber grout float or squeegee. Tilt the float at a 45-degree angle. Remove excess grout from surface immediately with the edge of float. Tilt it at a 90-degree angle and scrape it diagonally across tiles. Wait 15-20 minutes for grout to set slightly, then use a damp sponge to clean grout residue from surface and smooth the grout joints. Rinse sponge frequently and change water as needed. Let dry until grout is hard and haze forms on tile surface, then polish with a soft cloth. Rinse again with sponge and clean water if necessary. Wait 72 hours for heavy use. Don't apply sealers or polishes for three weeks, and then only in accordance with manufacturer's recommendations.
For travertine tiles, materials with holes, aqua forte etc. use a grout release before grouting. You can also a sealer before grouting. This will help you clean the grout easier.
MARBLE SYSTEMS AND ITS AFFILIATES ARE NOT RESPONSIBLE FOR ANY CLAIMS AS A RESULT OF THESE SUGGESTIONS. YOU MUST USE A PROFESSIONAL MARBLE INSTALLER AND PREMIUM SETTING MATERIALS.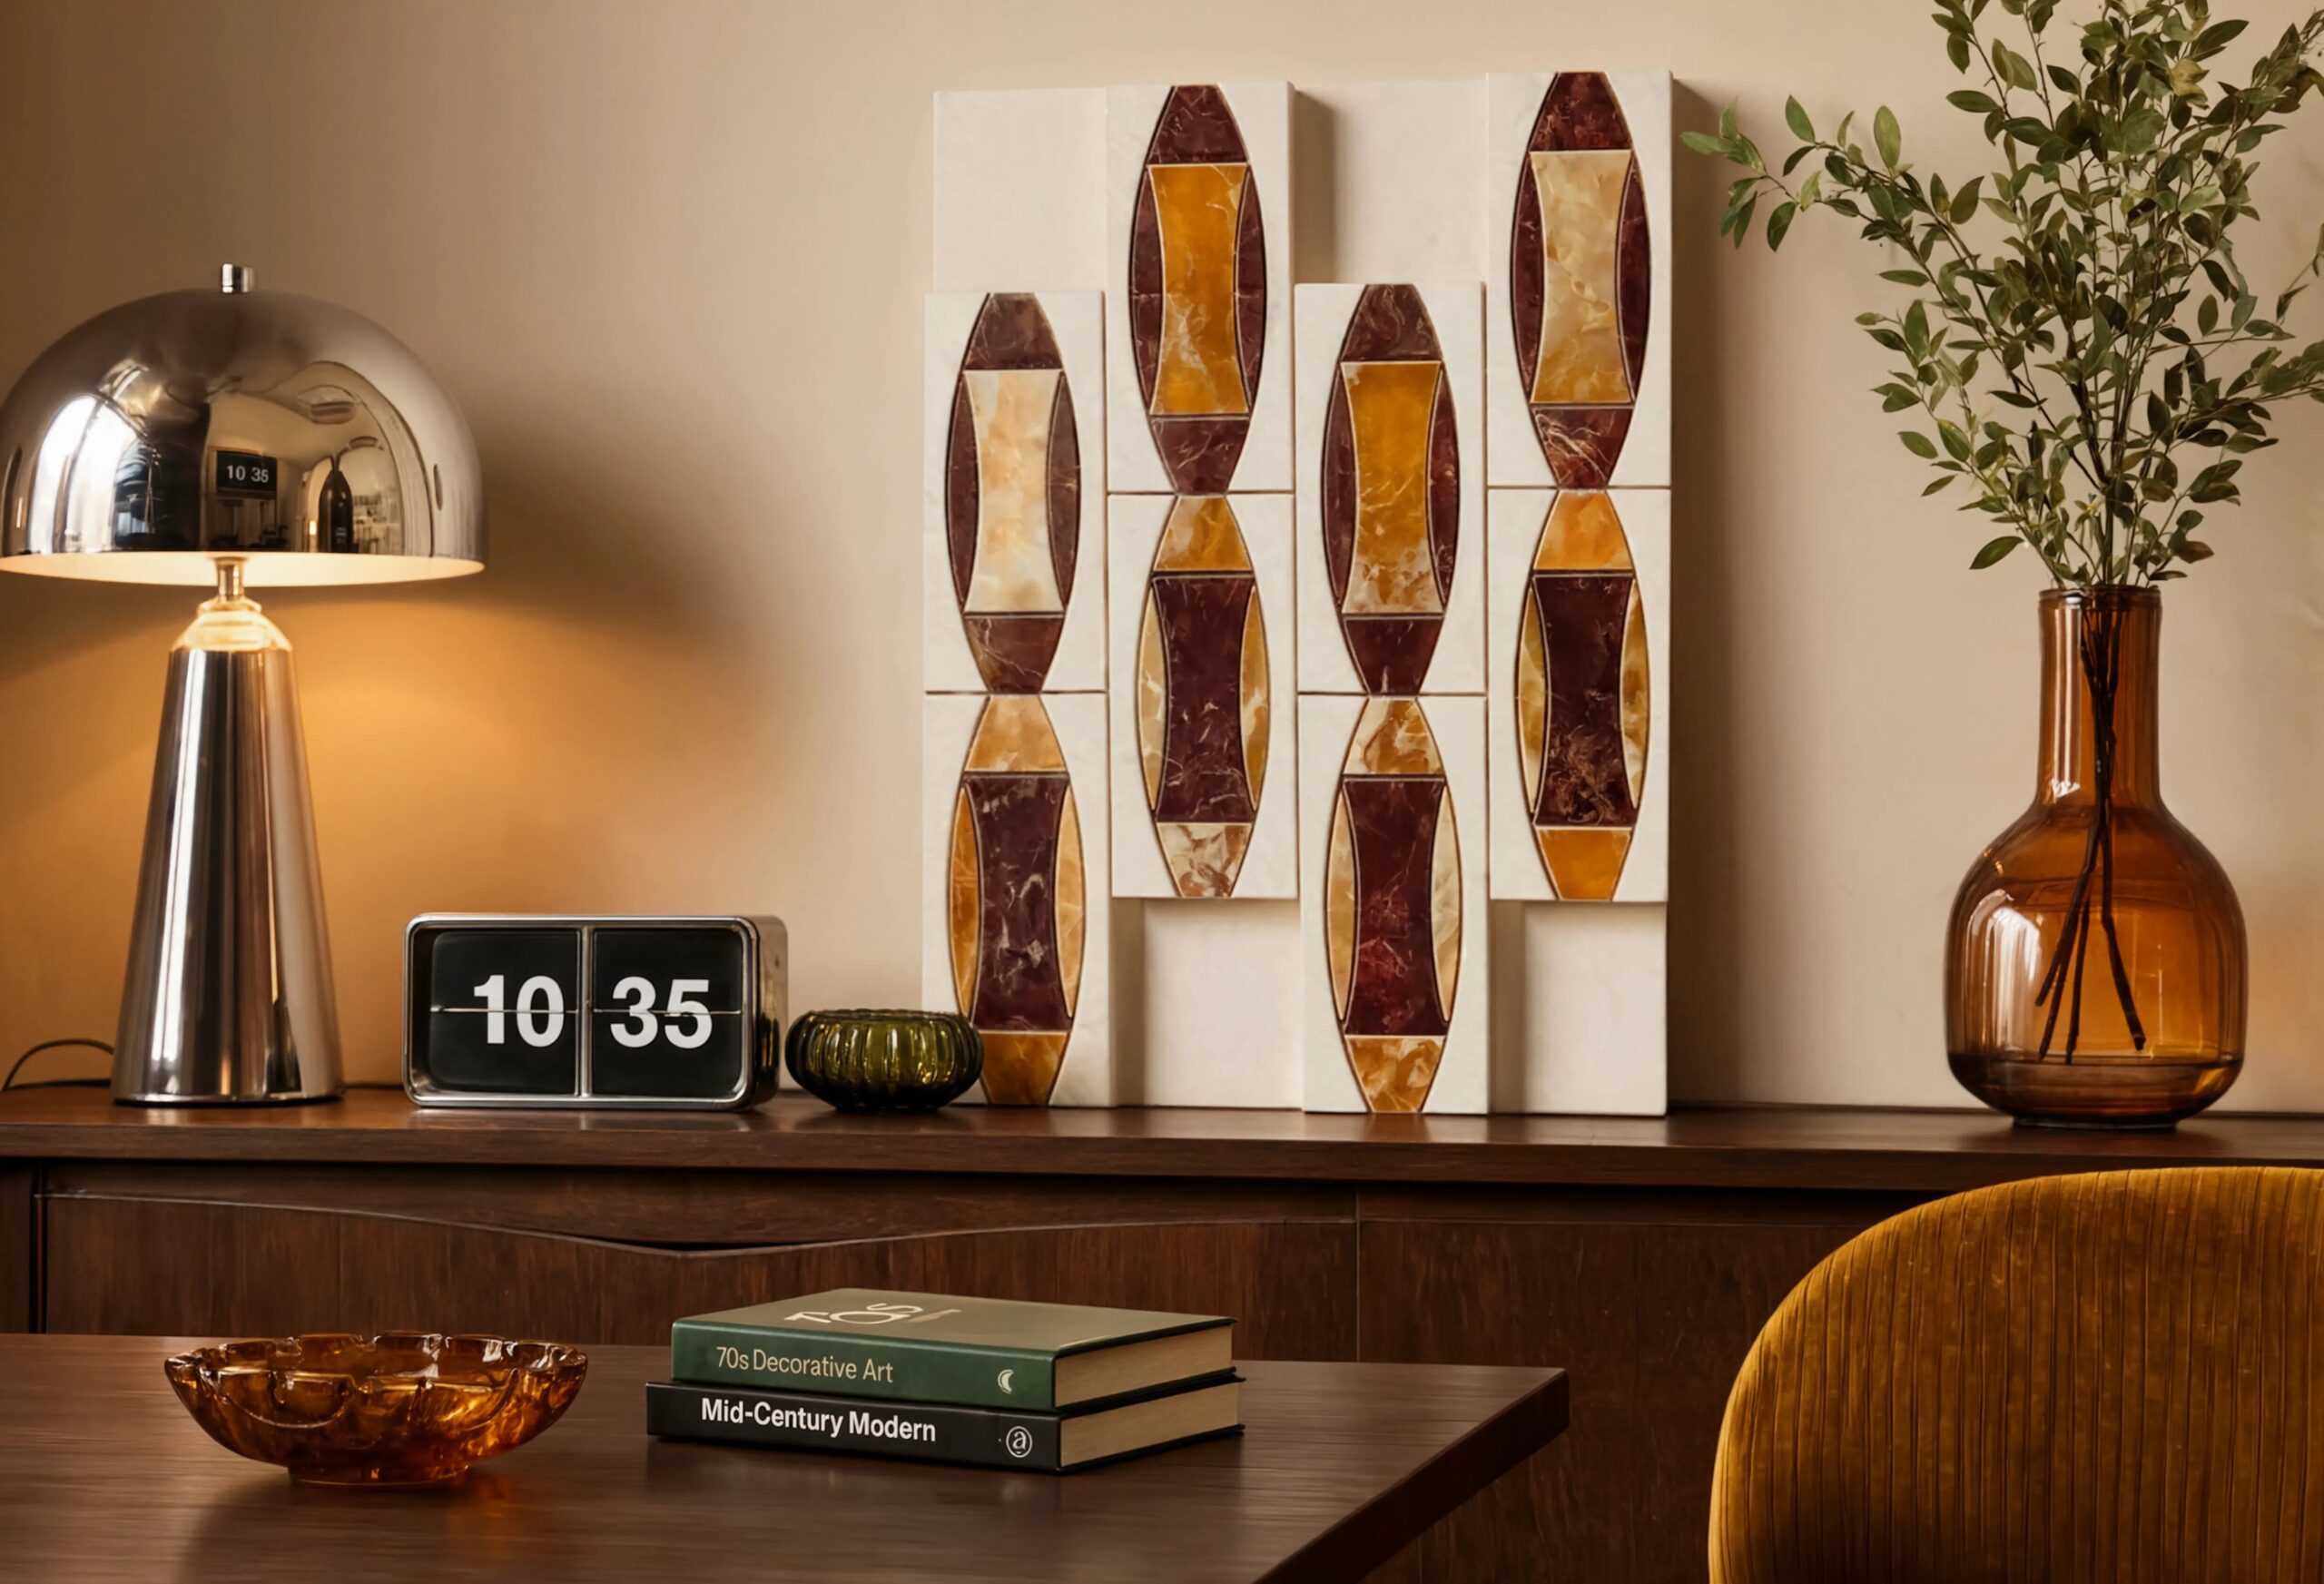
The 70s Were Always Neo Deco, Retro Groove Brought It Back
Art Deco interior design never really left. It just went to a party, and we’ve been waiting for it.
The 70s era didn't invent glamour; they inherited it.
When The Great Gatsby hit screens in 1974, and Studio 54 opened its doors three years later, a generation of designers took the hint that the 1920s already knew: that geometry is a form of self expression, that bold and characteristic colors belong on surfaces you touch, and that marble stone is the one material that can only reflect the sensation of luxury.
The decade became its own kind of Art Deco revival; louder, more colourful, and entirely unapologetic.
Hear us out, the movement is back! Interior designers are calling it Neo Deco, and it looks a lot like Retro Groove. So, if you’re planning to have the 70s sparkle back in your home, you’re in the right place. Choose your groove, put your jukebox on!
Why Is Neo Deco Tile Our Most Recommended 70s Design Inspiration?
Every aesthetic has its own reason to be chosen. What makes this marble tile collection work is the same thing that made 70s interior design work at its best: commitment. The geometric marble mosaic patterns don't hedge.
The jewel colored marble tiles, deep burgundies, amber yellows, and verdant greens, hold the room the way only natural stone tiles can, with variation built in and depth that changes with the lighting.
But Retro Groove doesn't ask you to go all the way in. The softer, more neutral pieces are also available in our collection to keep the same groovy tile pattern sensibility in a palette that works alongside the room rather than in front of it.
Maximalist interior design or something restrained, the design language is the same. The geometry connects everything; every shape feels like a note of a groove.
Every piece is cut from natural marble. That's not a small detail; it's the whole point of being luxurious and unique. At Country Floors, sourcing natural stone has been the foundation of what we do for over six decades. We know the difference, and so will your room.
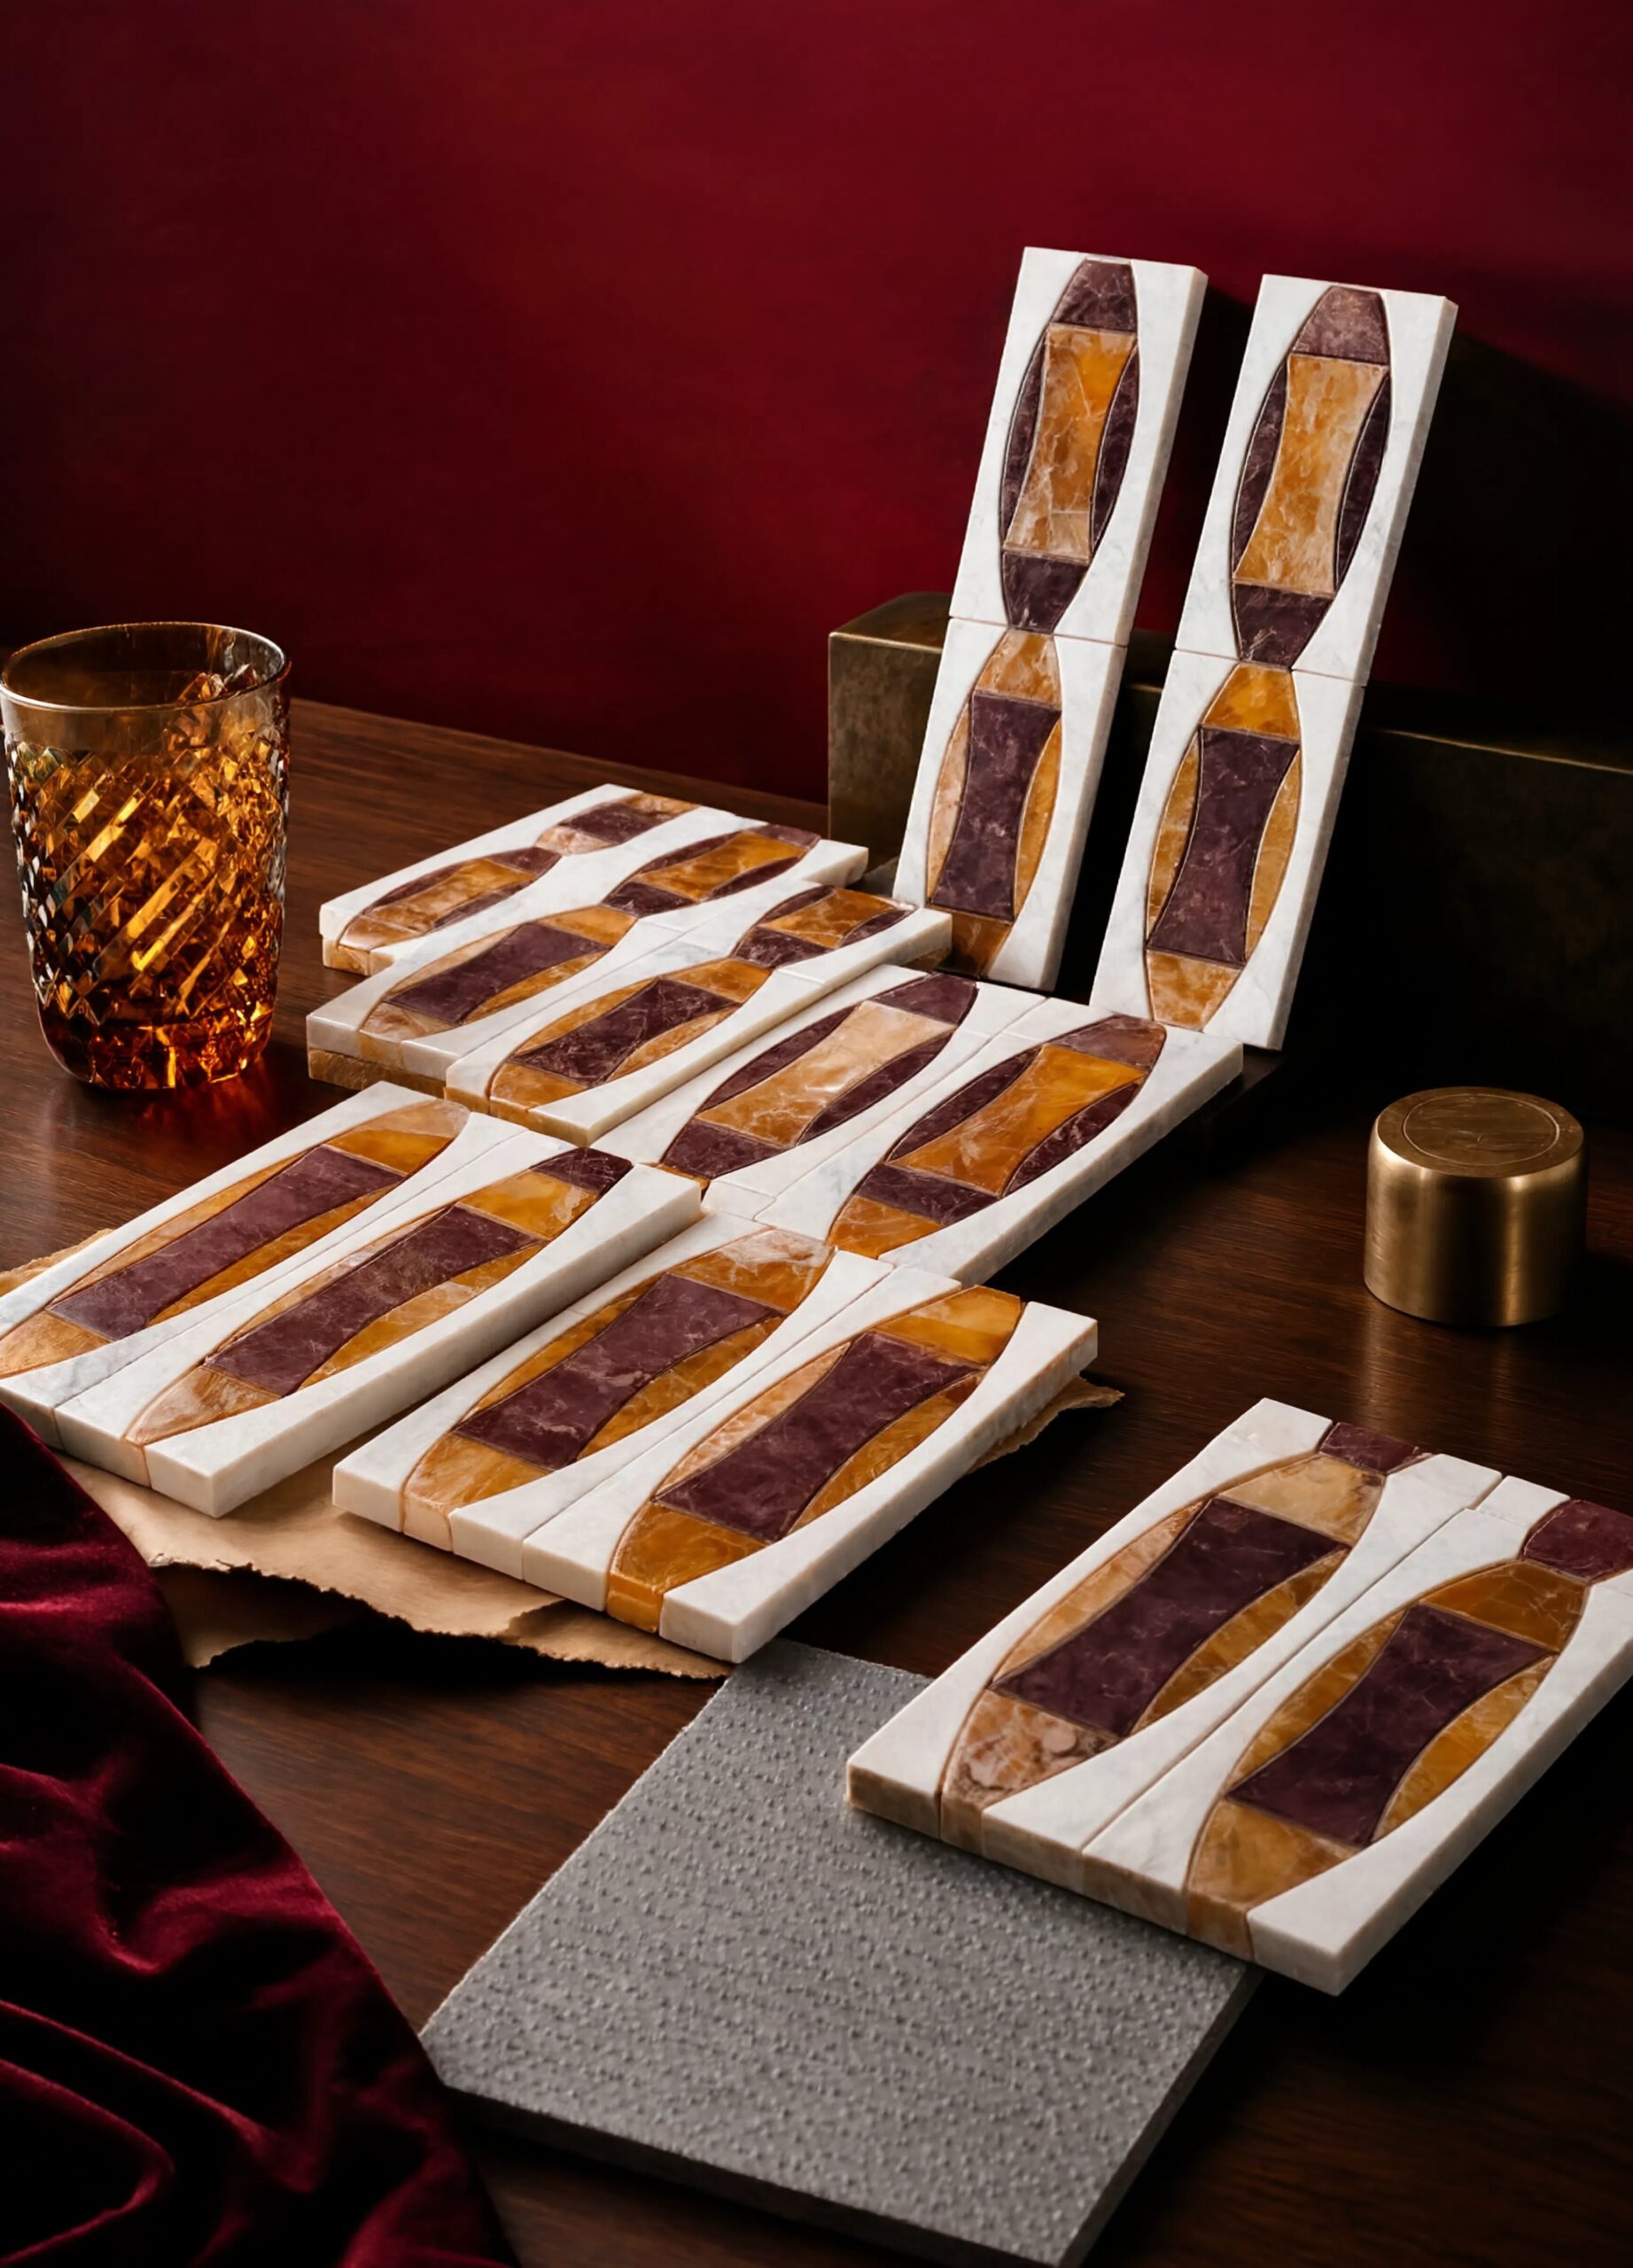
The Neo Deco Design Is Here, Feel the Grooves with It!
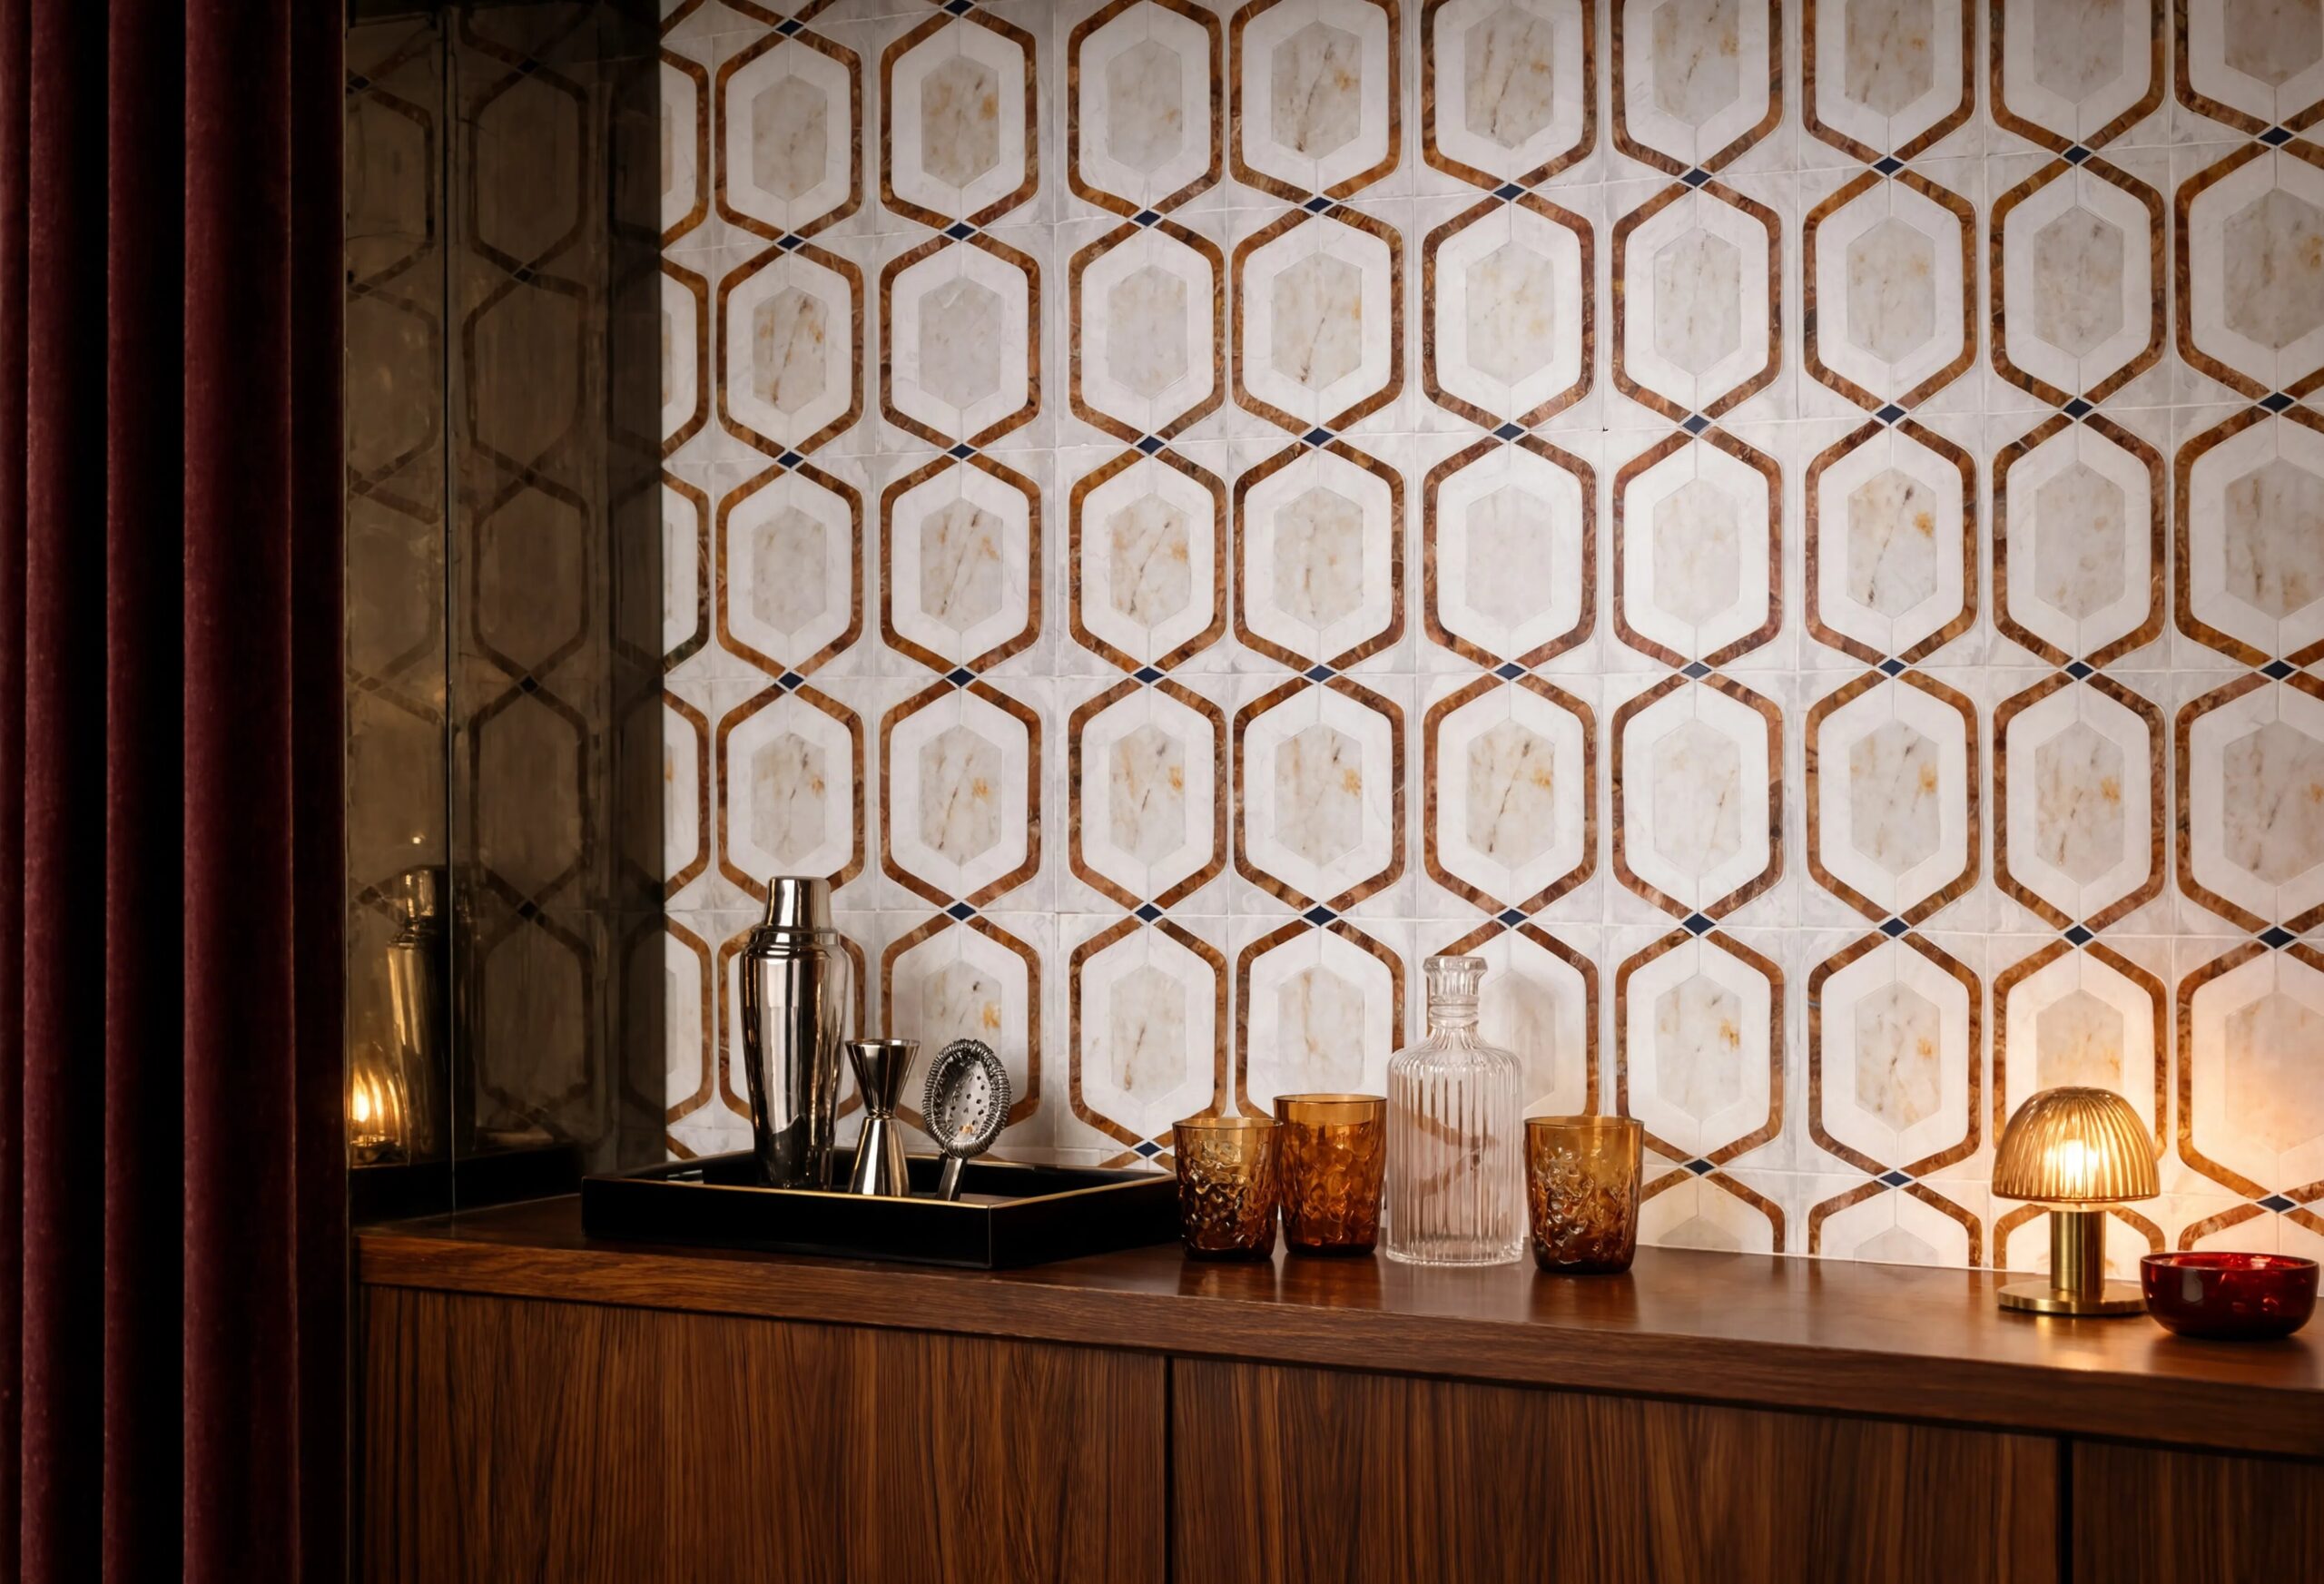
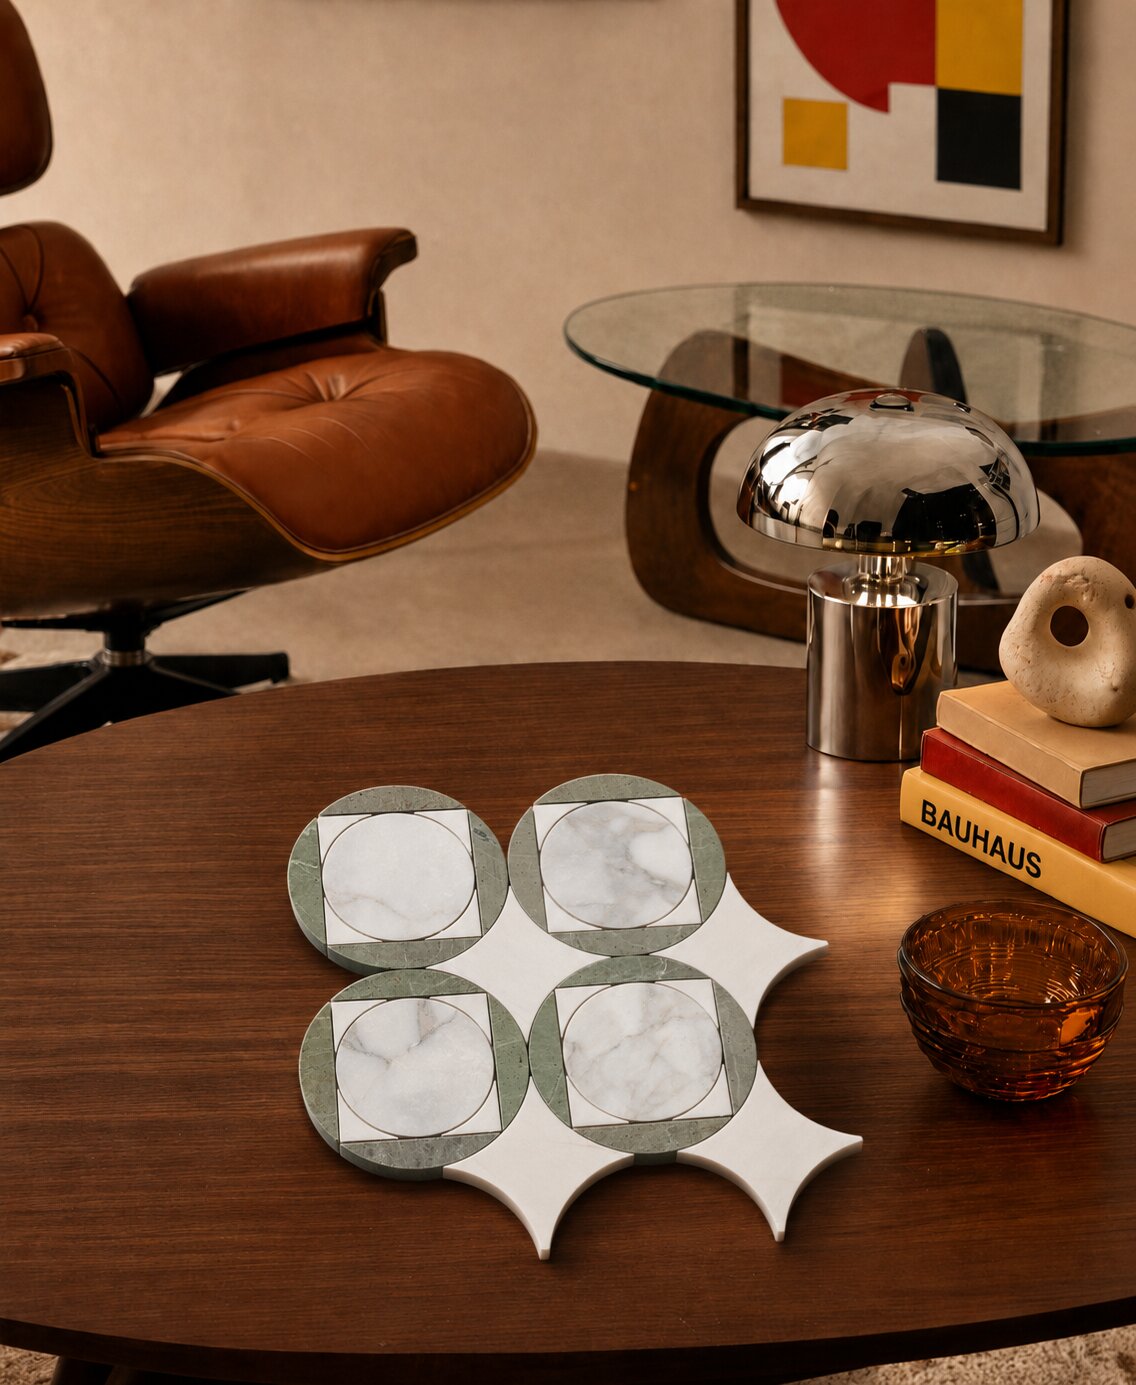
As a retro tile collection built on marble, Retro Groove is one of those rare things: a retro marble mosaic that works as hard in a Neo Deco interior as it would have in a 1970s penthouse.
There are some duos and design legends we keep using in every residential and commercial tile project, again and again. There's a reason this pairing keeps showing up in the most considered Neo Deco interiors. Checkerboard marble on the floor, a Retro Groove marble mosaic backsplash or feature wall above.
Pattern meets pattern, but in a language with sixty years of history behind it, two bold pieces come together to make your room feel like it’s alive. The geometry of the mosaic and the rhythm of the checkerboard come from the same design instinct.
Want to go bolder with the '70s sparkle? We know what you should do, then. Start with the floor tiles. Let the wall answer it in Neo Deco interior design.