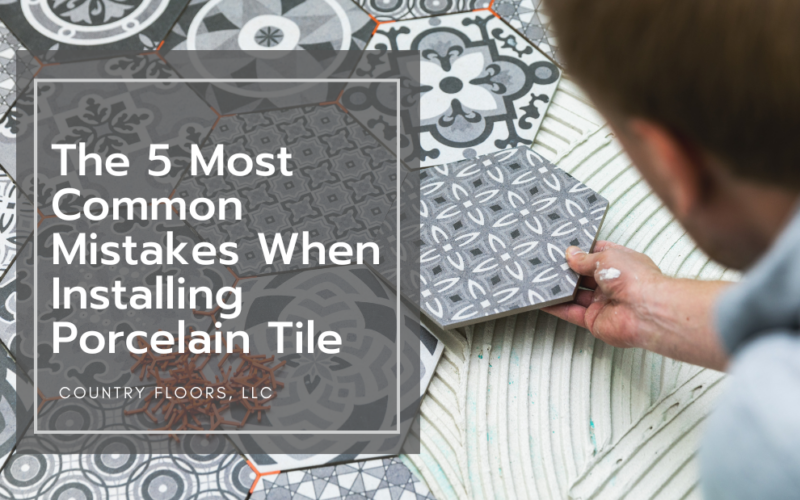
Learn all you need to know about how to install porcelain tile. There’s no denying the impact of brand-new porcelain tile flooring. Installing porcelain tile is a tried and true way to modernize your home and breathe new life into your most treasured spaces. Proper preparation is crucial no matter the color, size, or shape of your chosen tile. If you plan to DIY your floor installation, be sure to avoid making these 5 mistakes when applying your new porcelain tile. Steering clear of these missteps will help you achieve beautiful, high-quality results.
1. Using the Wrong Trowel Size
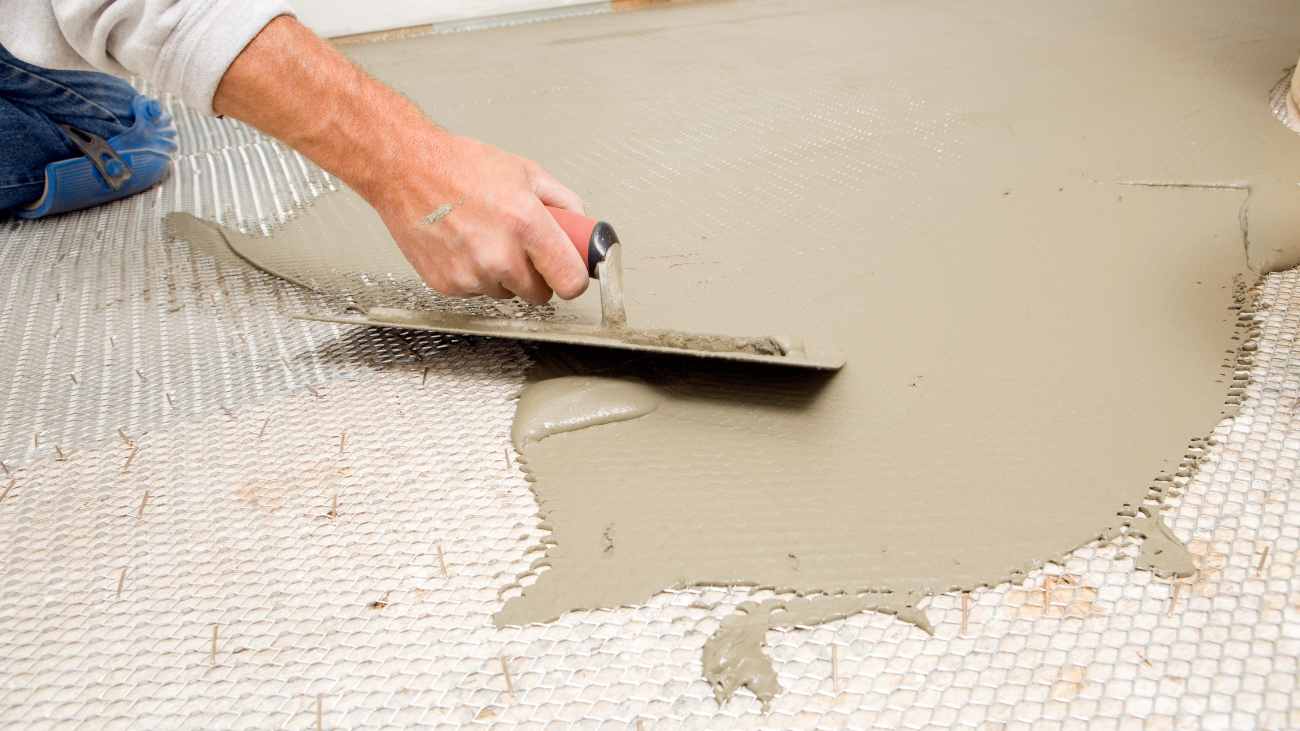
You always want to use a trowel that is complementary to your tile when installing porcelain tile. This step is important because the correct size trowel will ensure that your porcelain tile is placed in an adhesive bed that is large enough and deep enough for the tile to lay securely.
Generally, tiles up to 400mm (or 40cm) can be installed using a trowel with 12mm notches. Tiles larger than 400mm should be installed with trowels that are at least 15mm notches.
If you go with a larger porcelain tile, make sure that your trowel is equipped with deep notches and that you purchase enough adhesive to cover the entire area for a secure fit. Adhesive marked as meant for “large tile” or “large format porcelain tile” is ideal for these scenarios.
2. Cracking the Tile
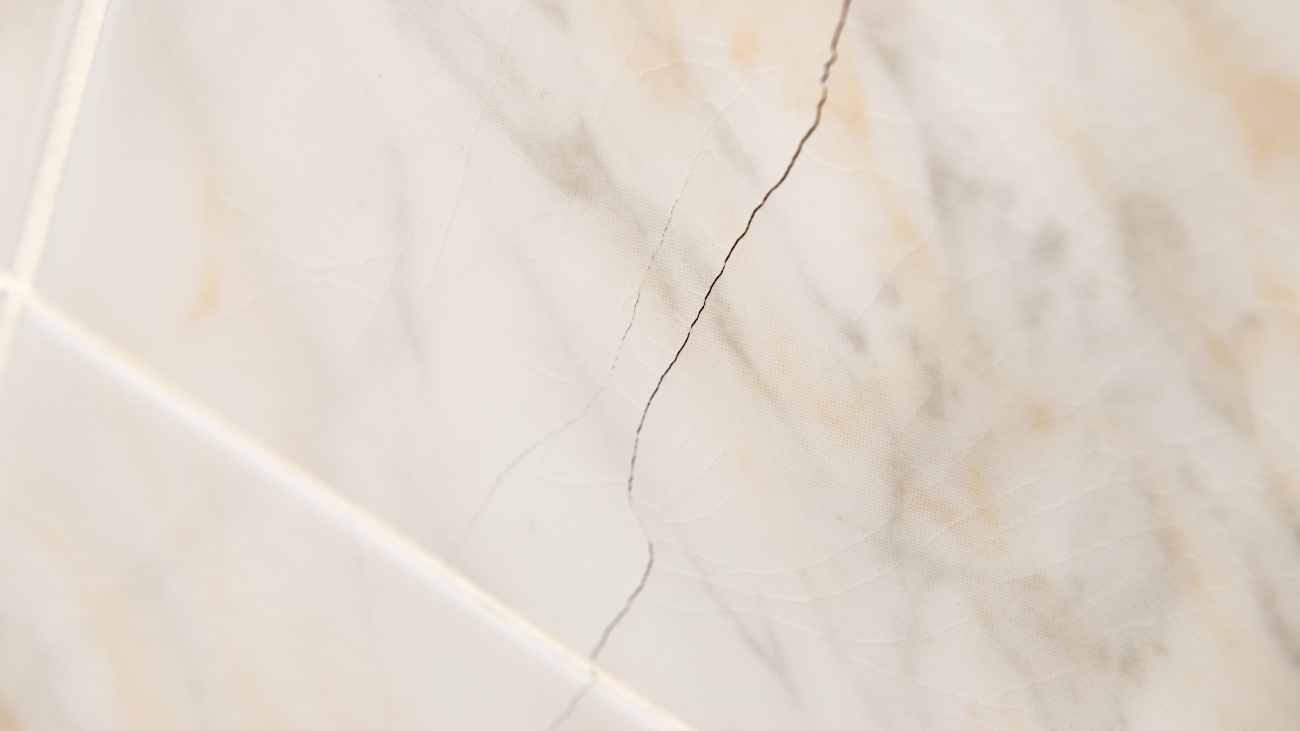
Too many cracked tiles can quickly make your porcelain floor installation very expensive. To avoid this issue, it’s important to know how to cut porcelain tiles. A diamond saw is recommended for porcelain tile because the blade is untoothed and abrasive enough for a thorough cut.
You want to carefully mark your time before cutting for accuracy using a lead or wax pencil. Cutting porcelain tile requires slow and even pressure across the cut for best results. Materials are precious, so taking your time is imperative. Lastly, be sure to hold the two divided pieces of tile together as you near the end of the cut to avoid breaks. If you avoid these steps, you’ll be sure to avoid cracked porcelain tile.
3. Uneven Subflooring
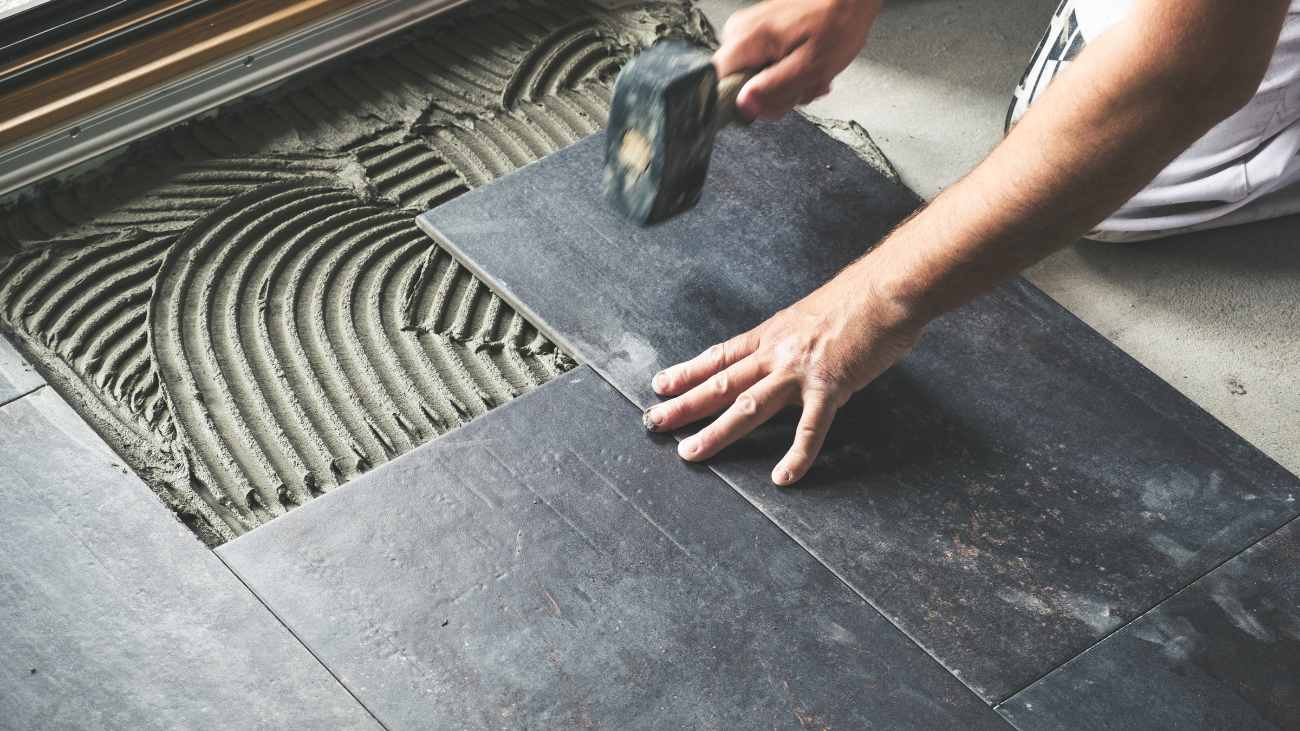
Subfloors refer to the surface that your porcelain tile will be installed on top of. Subflooring has to be even and flat to serve as a strong base for porcelain tiles.
If you are working on a low-quality subfloor, you will need to first lay a cement board down to help add security. Cement board ranges from 6mm to 12mm, so select the thickness that will help support the weight of your porcelain tile. Assessing how far apart the floor framing is will help you choose the correct thickness.
Keep in mind that the cement board will raise the height of the floor so counters, vanities, and other structures may also need to be raised.
4. Using The Wrong Grout

Suitable grout is important for porcelain tile flooring as well as porcelain shower tiles. Using the correct formulation of grout will ensure you have clean and even lines between tiles. Make sure you mix your grout with a trowel until it reaches a peanut butter consistency and allow it to rest for approximately 10 minutes to allow it to set for best results.
5. Using Bad Silicone
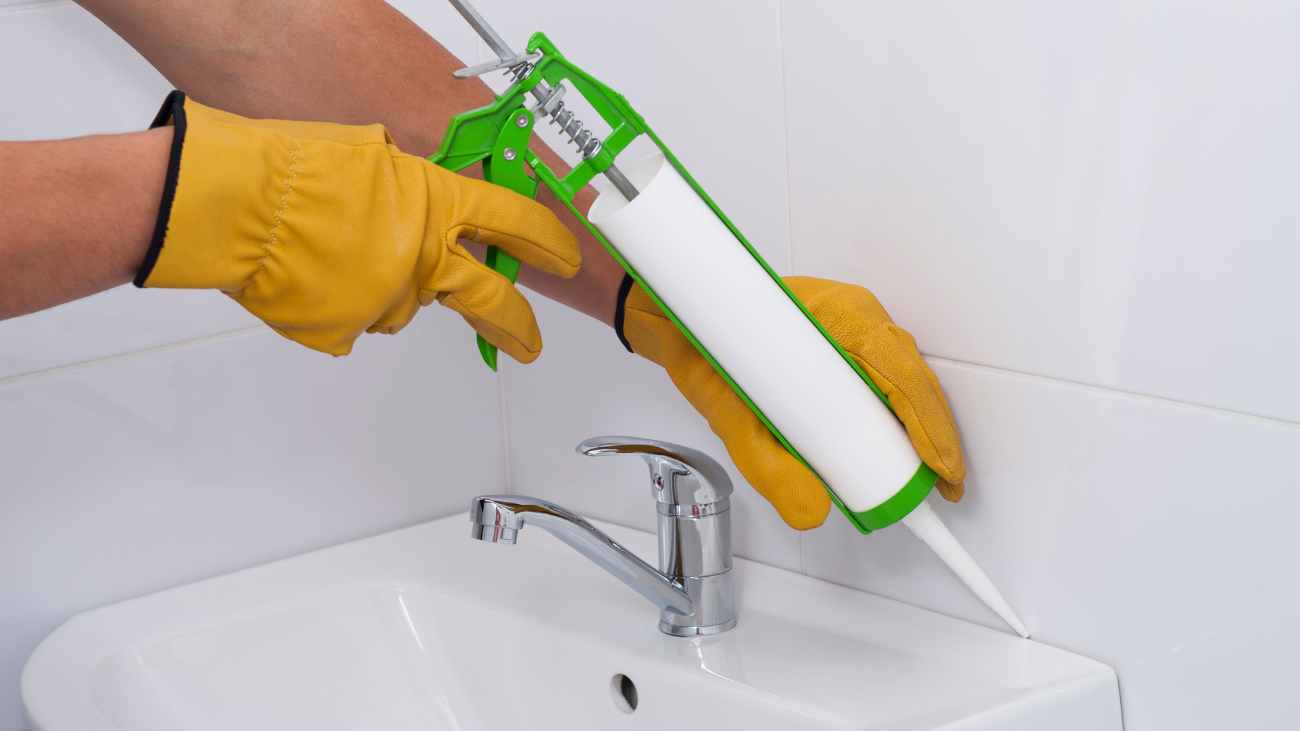
The last mistake to avoid is using poor-quality silicone on your porcelain tiles. In bathrooms, you must silicone the internal corners of your porcelain shower tile with caulk to seal. Caulk along the edges of your bathtub and shower tray and caulk in a straight line down tile corners for a professional finish.
In Conclusion
Following the above-mentioned tips will help you avoid crucial mistakes with your porcelain tile flooring and achieve HGTV-worthy results. If it’s your first time laying tile, it’s important to do your research and be prepared. Get all the necessary tools and don’t skip steps – it’s the key to making your porcelain tile installation look professional!
If you want to get started right away, browse our full porcelain tile collection. We have a fabulous selection of porcelain flooring for your home.
For more tips on tile installation, check out our blog post on grout.
