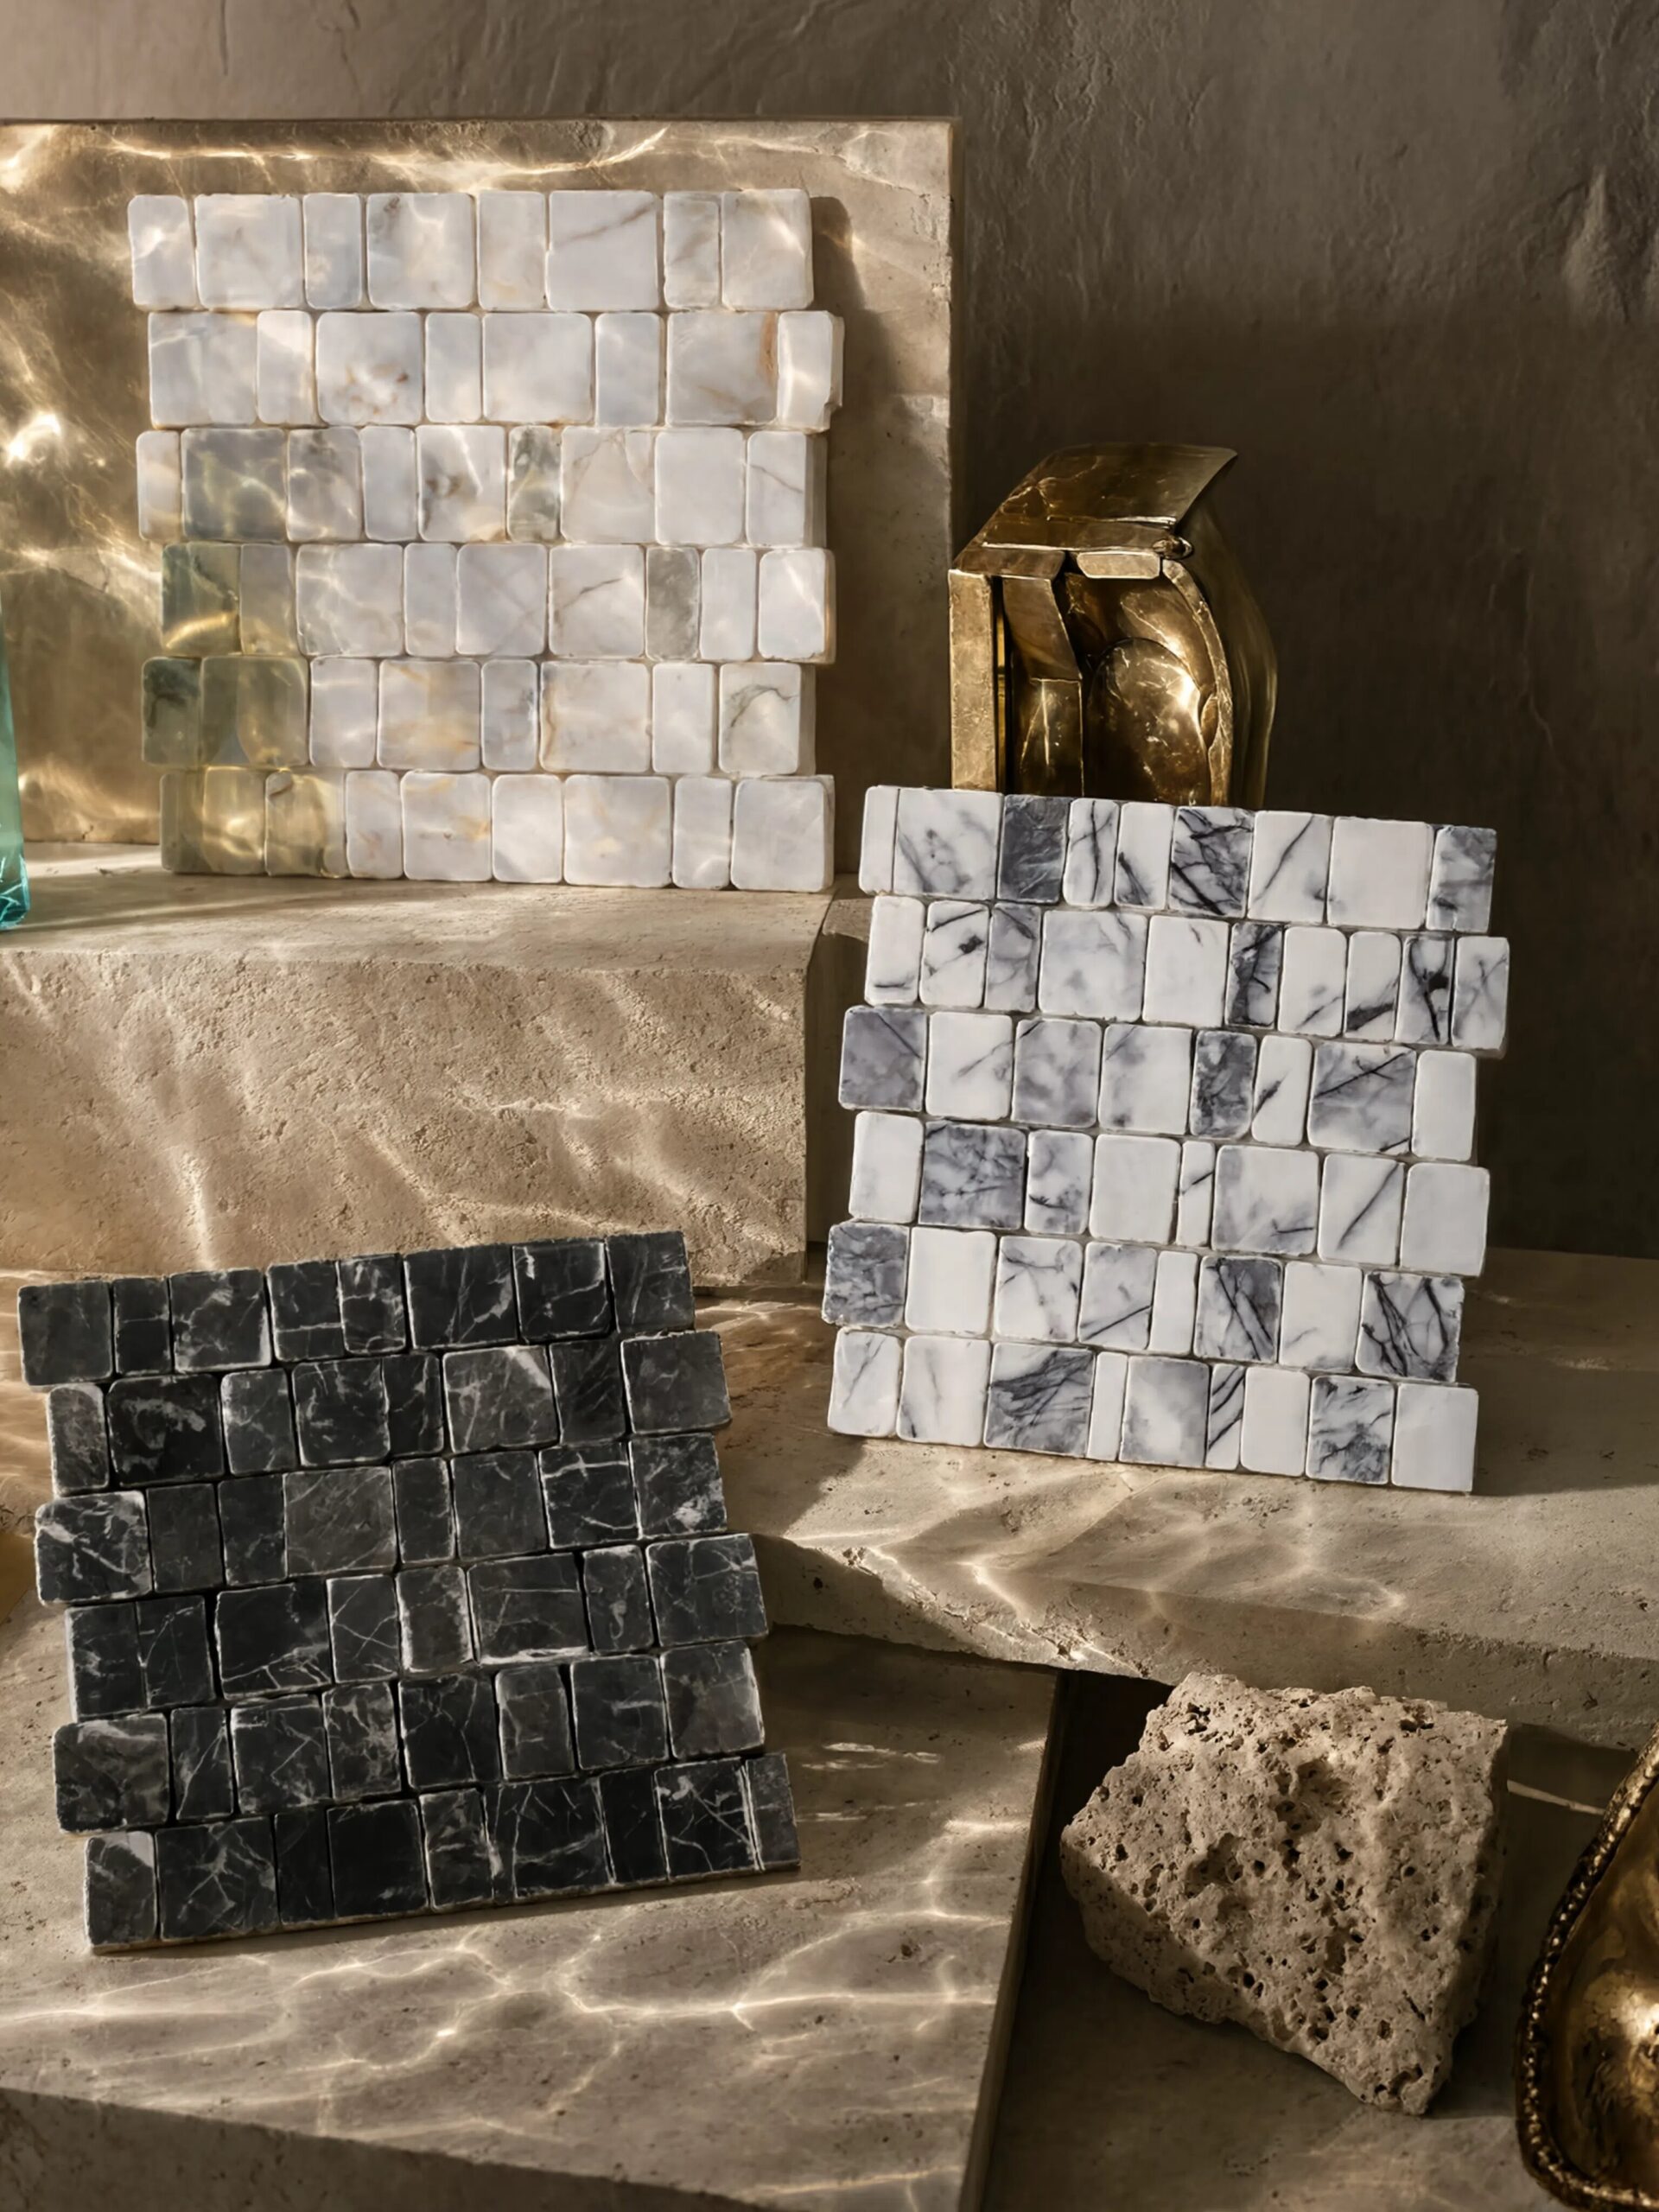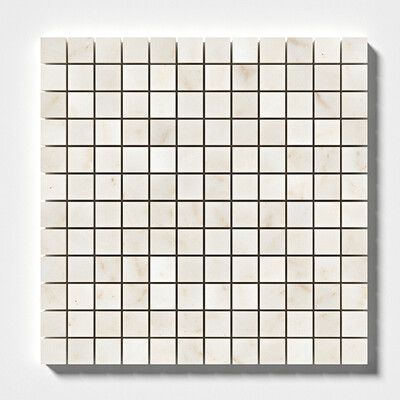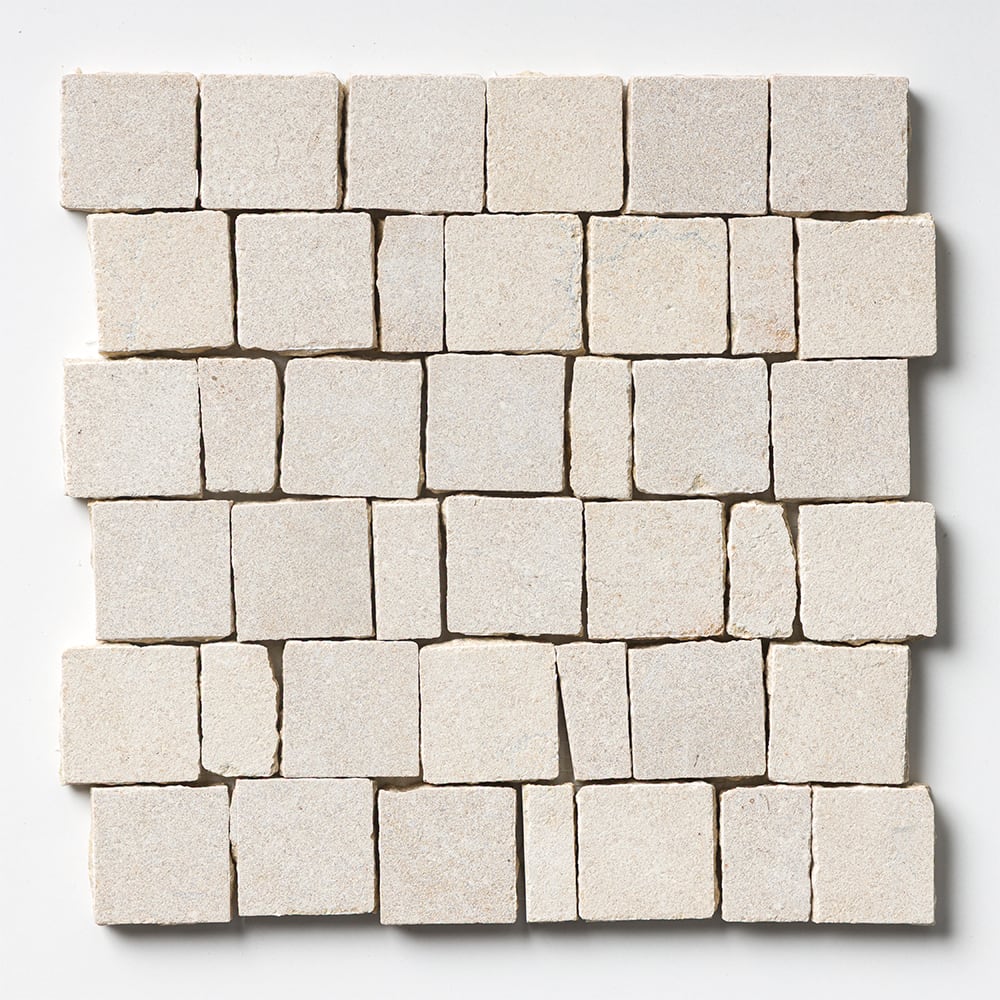
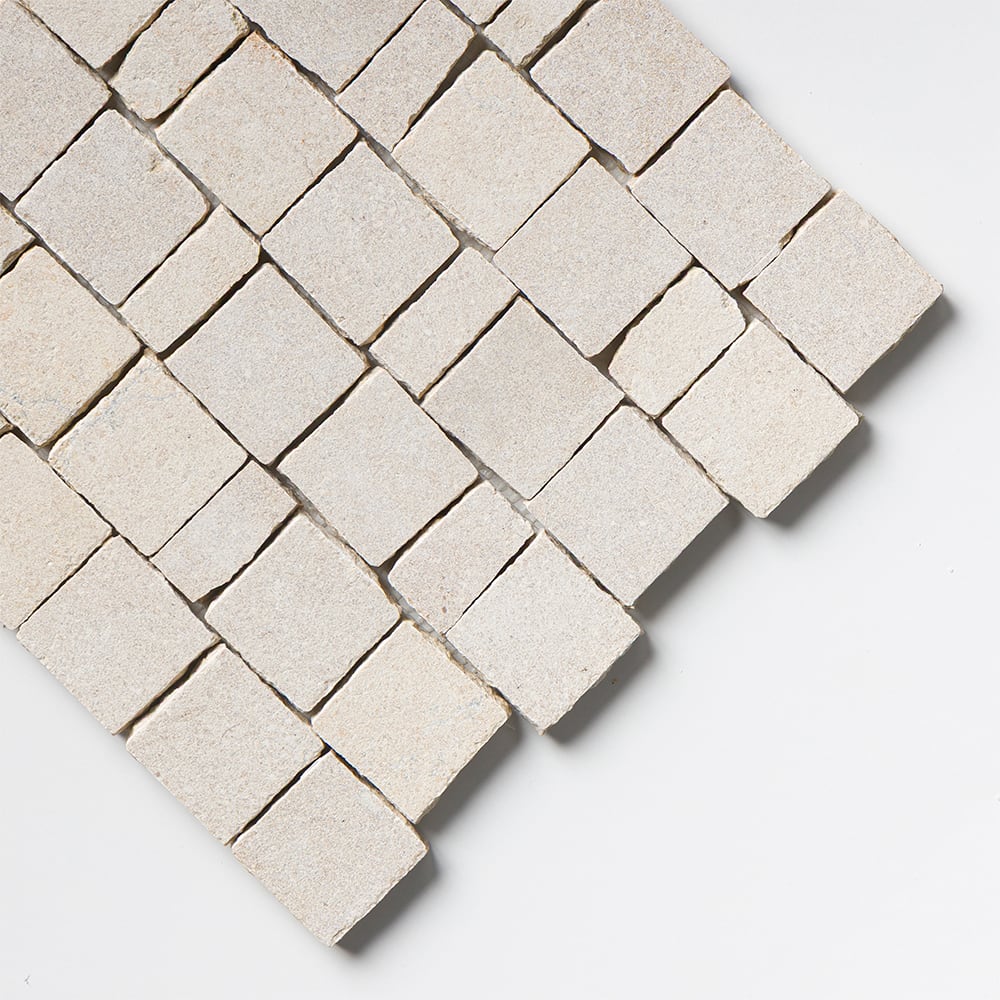
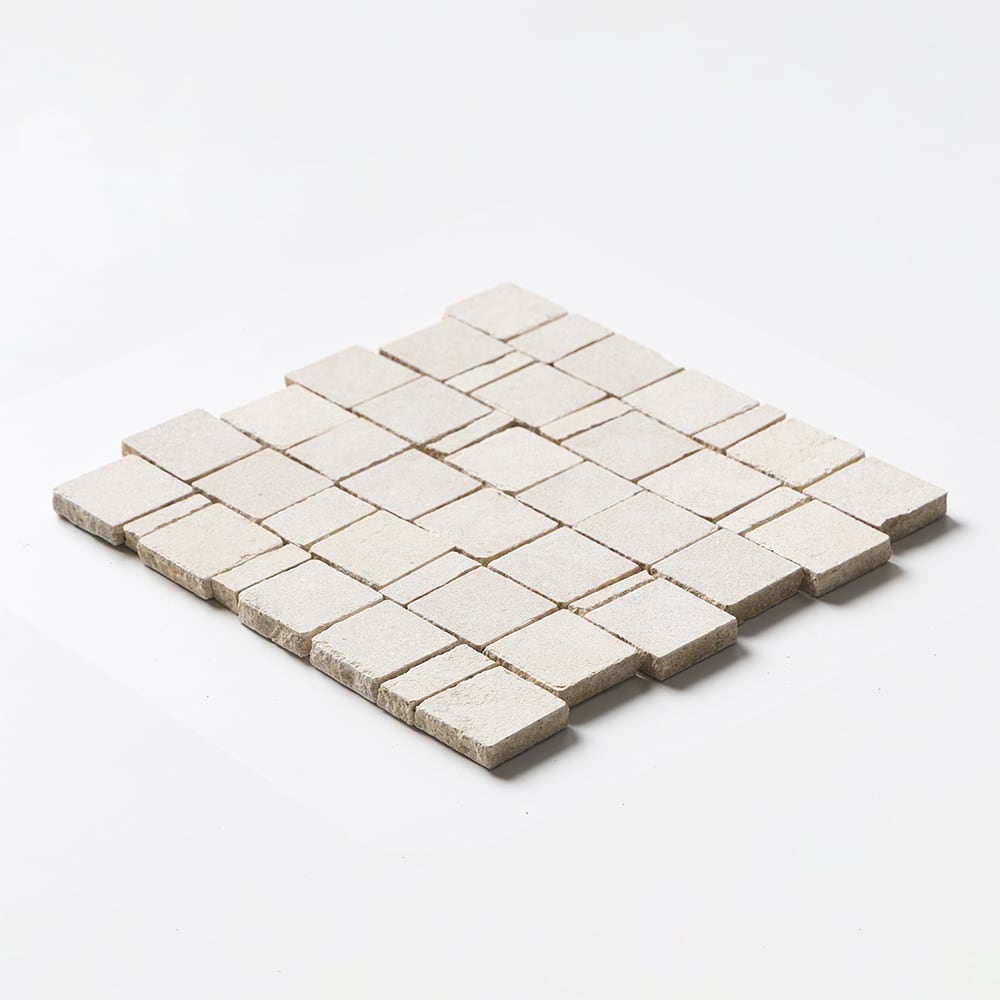
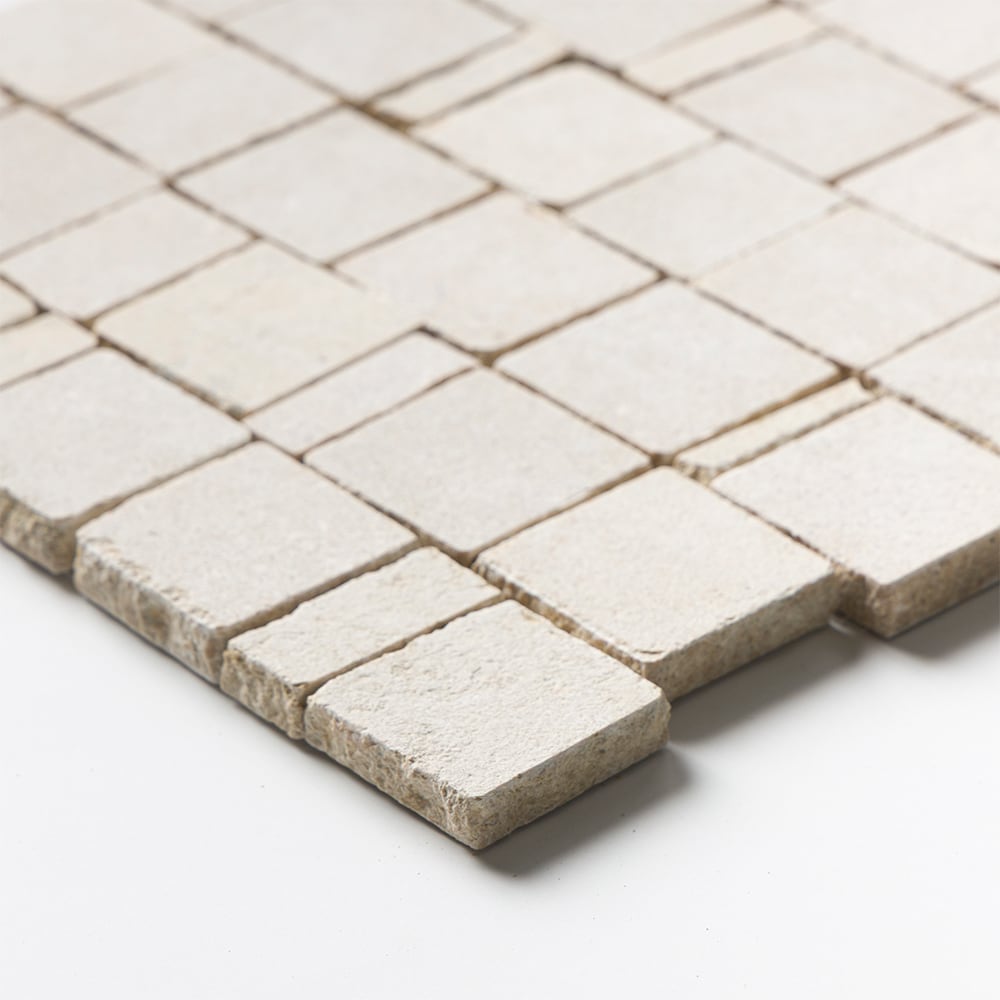
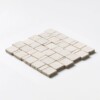
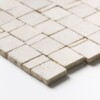
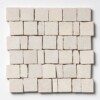
Seashell Leather Scarpa Rough Cut Marble Mosaic 12"x12"x1/2"
Color & Finish Options:
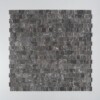
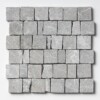
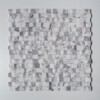
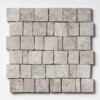
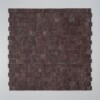
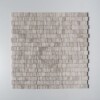
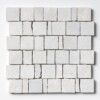
Price Tier:
- * Est. coverage: 0.949 sqft / per piece• 5.69 sqft / per box
Product Specifications
About The Tile:
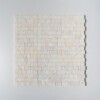
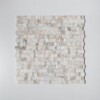
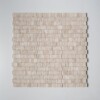
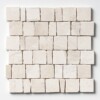
Seashell Leather Scarpa Rough Cut Marble Mosaic is cut from Seashell marble, a warm, creamy beige stone with a pattern that's genuinely different from typical marble veining. Instead of long mineral lines, Seashell marble carries the fossilized traces of ancient shells and sea life, pressed into the stone over millions of years (a pattern that reads more organic and irregular than a linear vein). That's also where the name comes from.
The leather finish adds another layer of texture on top of that. Instead of a smooth, flat surface, leathering gives the stone a soft, low-sheen texture you can feel as well as see, with better resistance to fingerprints, water spots, and light etching than a polished or honed surface.
Each piece in this Scarpa Rough Cut marble mosaic is hand-clipped into an irregular rectangular fragment, not cut to a uniform template, then hand-set into the pattern's signature interlocking, staggered layout (a fitting match for a stone whose own pattern already resists uniformity).
This mosaic is sold in 12"x12"x1/2" sheets. It's rated for interior and exterior floors and walls, shower floors and walls, and select commercial applications. Use it as a warm, textured beige marble mosaic for a spa-style shower floor, a tactile powder room wall, or a backsplash with more visual interest than a plain beige stone.
What we love:
- Every single piece is unique
- Classic timeless beauty
- Wears well with time
- Hypoallergenic, does not trap dust or allergens
- Aesthetic appeal, create a sense of luxury and sophistication
- Unique patterns and features that adds drama and interest to the design
- Variety, wide range of colors, textures, and types available, that could fit any design vision
- Custom sizes and complimentary pieces may be available for steps, risers, vanity top, and countertop
Please Consider:
- All natural stone has variation. No two pieces are alike
- Blend and dry set before installation
- Must be sealed periodically
- We recommend premium white thin set
- We recommend waterproofing sub floor
- Essential to consider the specific type of natural stone and it's suitability for the intended use
- Natural stone tiles do require proper care and sealing
- Color and pattern inherently variable, with variations in color, veining and texture, understand and appreciate these natural variations and make sure they align with your design vision
- Finish, select a finish that suits both your design intent and functional needs
- Substrate prep
- Adhesive selection
- Tile layout and dry set
- Tile spacing
- Professional installation
Interior Floors - Low Traffic
Interior Floors - High Traffic
Shower Floors
Shower Walls
Interior Walls
Exterior Walls
Exterior Floors
Commercial Interior Floors
Commercial Interior Walls
Suitable.
Please consult with your sales rep.
- Usage recommendation must be confirmed by your installer and depends on application, installation methods and general suitability. Country Floors assumes no liability from any installation and usage recommendations.
Width
12"
Lenght
12"
Thickness
1/2"
Weight
4.63 lb / per pcs
Coverage
0.95 sqft / per pcs
Get the most out of your Marble Systems product by following these helpful instructions for installing floor tile. A Few Dos & Don’ts
- Tile may be installed over most structurally sound substrates if they are clean, smooth, dry and free of wax, soap scum and grease and other debris.
- Carefully read and follow all instructions and precautions on the adhesive or mortar package. Mix only enough to be used within 30 minutes.
- Since variation of shades is an inherent characteristic of ceramic tile, mix tiles from several cartons as you set, for a blended effect.
- Order extra material for cuts, spare tiles, and waste.
- If material is face taped, remove tape after installation.
- Be sure to calculate exact tile needed for your surface before installation.
- If you are short of material do not start installation until you have all the tile that blends. Additional shipments may not match the tile from previous shipment.
- If you do order additional tile for an older job be sure to match color lots before installation.
Step 1: Surface Preparation
Tile may be installed over most structurally sound substrates, if they are clean, smooth, dry and free of wax, soap scum and grease. Any damaged, loose or uneven areas must be repaired, patched and leveled. Remove any moldings, trim, appliances, etc., which could interfere with installation. Door jambs may be undercut for tile to slip under. We recommend waterproofing most floors to prevent surface seeping.
Step 2: Layout
Begin by marking the center point of all four walls. Snap chalk lines between the center points of opposite walls, which will intersect at the center of room. Make sure they›re perfectly square, and adjust if necessary. Next, lay out a row of loose tiles along the center lines in both directions, leaving spaces for uniform joints (use tile spacers). If this layout leaves cuts smaller than 1/2 tile at walls, adjust the center line by snapping a new line 1/2 tile closer to the wall. Repeat along other center line if necessary. Now divide the room into smaller grids (approx. 2' x 3') by snapping additional lines parallel to center lines.
Step 3: Applying Adhesive
Select the right adhesive for the substrate you're using. Carefully read and follow all instructions and precautions on the adhesive or mortar package. Mix only enough to be used within 30 minutes. Using the type of trowel recommended on the adhesive package spread a 1/4" coat on the surface of one grid area, using the flat side of the trowel. Do not cover guidelines. Next, use the notched side of trowel to comb adhesive into standing ridges by holding trowel at a 45-degree angle. Then remove excess adhesive, leaving a uniform, ridged setting bed. Don't spread a larger area than can be set in 15 minutes.
We recommend using white good quality thin set such as Mapei, Laticrete, or Ardex.
Some black marbles, white marbles, dolomites, and green marbles may have to be installed with Moisture sensitive thin set. Please check with the manufacturer.
Step 4: Cutting Tile
Carefully measure tiles to be cut and mark with a pencil or felt-tip pen. Make straight or diagonal cuts with a tile cutter, curved cuts with a nipper (chipping away small pieces for best results) and full-length curved cuts with a rod saw. Sharp-cut edges may be smoothed with a carborundum stone.
Step 5: Setting Tile
Variation of shades is an inherent characteristic of marble, stone and ceramic tile – mix tiles from several cartons as you set, for a blended effect. Begin installing tiles in the center of the room, one grid at a time. Finish each grid before moving to the next. Start with the first tile in the corner of the grid and work outward. Set tiles one at a time using a slight twisting motion. Don't slide tiles into place. Insert tile spacers as each tile is set, or leave equal joints between tiles. Fit perimeter tiles in each grid last, leaving 1/4" gap between tile and wall. Any rectangle porcelain should never be set in a running bond pattern, rather no more than a 1/3 overlap; the joint should be widened to 3/16" and use of a large unit porcelain mortar should be employed. When grid is completely installed, tap in all tiles with a rubber mallet or hammer and wood block to ensure a good bond and level plane. Remove excess adhesive from joints with a putty knife and from tile with a damp sponge. Do not walk on tiles until they are set (usually in 24 hours).
Step 6: Grouting Joints
Generally, you should wait about 24 hours before grouting (refer to the adhesive package for specifics). Carefully read and follow all instructions and precautions on the grout package. Make only enough to use in about 30 minutes. Remove tile spacers and spread grout on the tile surface, forcing down into joints with a rubber grout float or squeegee. Tilt the float at a 45-degree angle. Remove excess grout from surface immediately with the edge of float. Tilt it at a 90-degree angle and scrape it diagonally across tiles. Wait 15-20 minutes for grout to set slightly, then use a damp sponge to clean grout residue from surface and smooth the grout joints. Rinse sponge frequently and change water as needed. Let dry until grout is hard and haze forms on tile surface, then polish with a soft cloth. Rinse again with sponge and clean water if necessary. Wait 72 hours for heavy use. Don't apply sealers or polishes for three weeks, and then only in accordance with manufacturer's recommendations.
For travertine tiles, materials with holes, aqua forte etc. use a grout release before grouting. You can also a sealer before grouting. This will help you clean the grout easier.
MARBLE SYSTEMS AND ITS AFFILIATES ARE NOT RESPONSIBLE FOR ANY CLAIMS AS A RESULT OF THESE SUGGESTIONS. YOU MUST USE A PROFESSIONAL MARBLE INSTALLER AND PREMIUM SETTING MATERIALS.
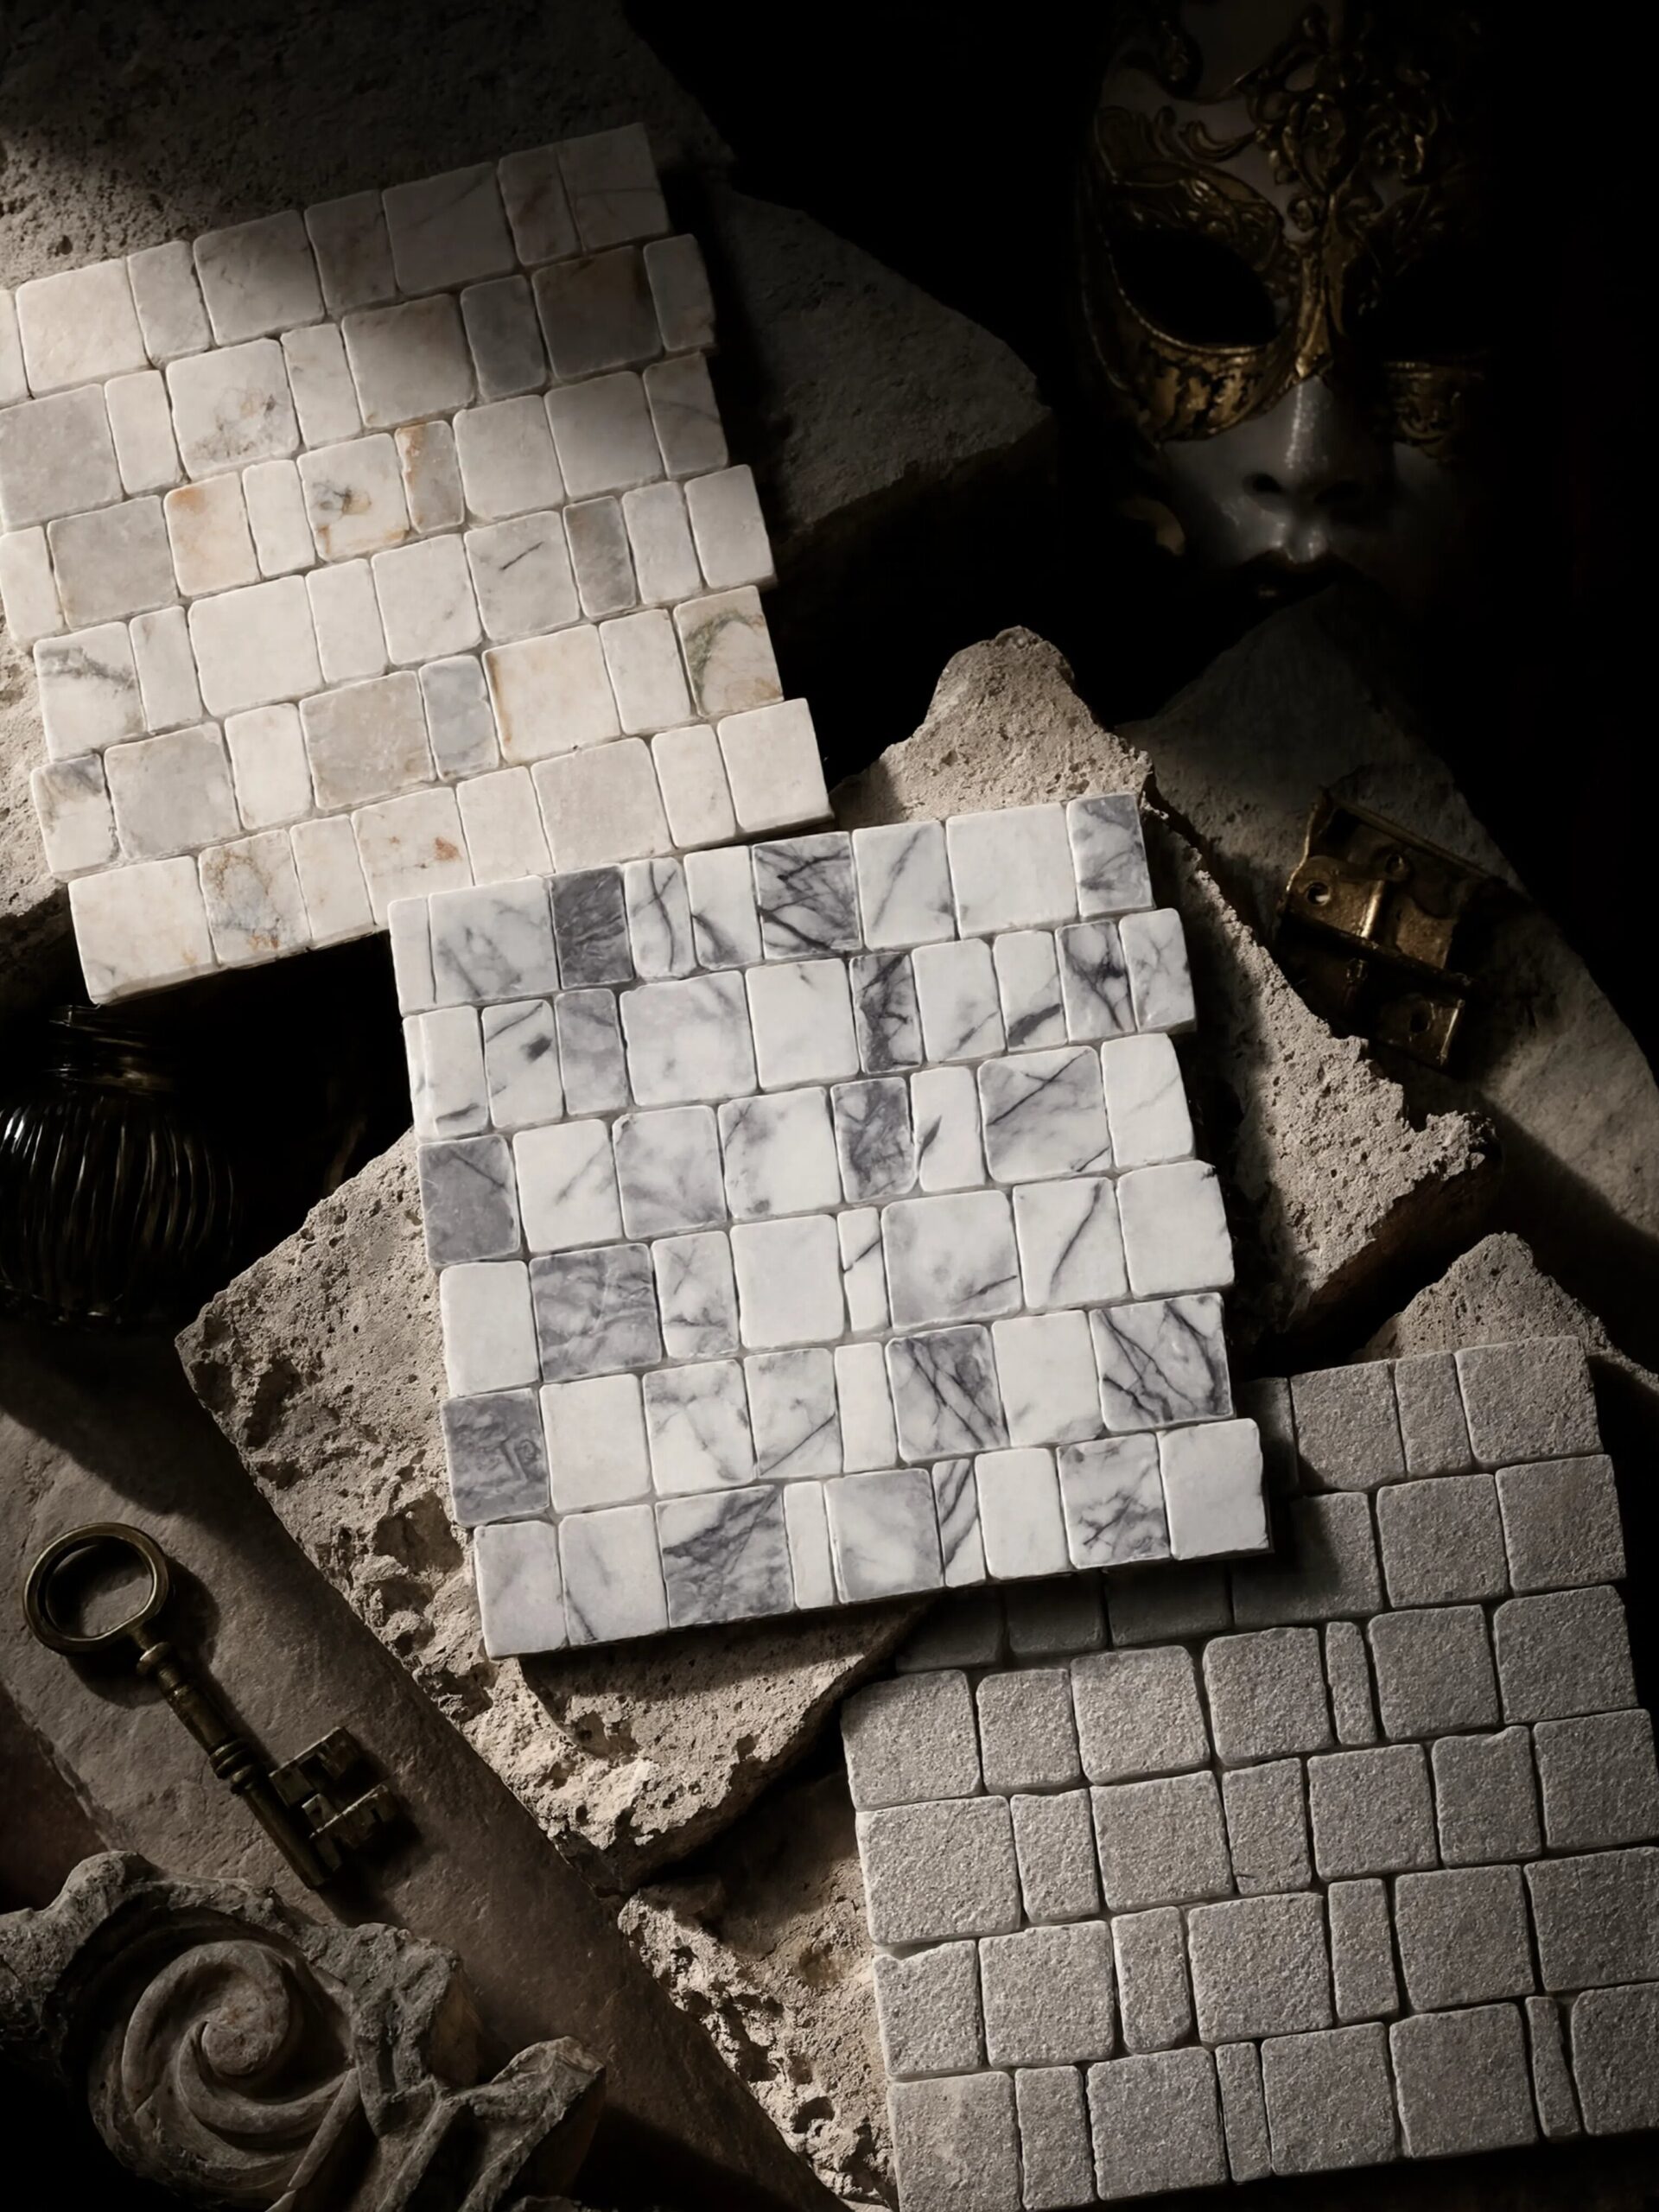
A Story Started in Venice, Became A Design Language Worldwide
Some tile collections take their name from a color palette, material’s veining details, or a technique. Ours takes its name from an architect who never lowered his standards, not even for flooring. The vision was beyond that, and that was the starting point for our story.
In 1957, Carlo Scarpa was asked by Adriano Olivetti to turn a narrow, dark storefront under the arcades of Venice's Piazza San Marco into a showroom for typewriters and calculators. What Scarpa built there became one of the most studied interiors in 20th century architecture, and it's the reason Scarpa mosaic tiles exist. He laid the ground in irregular tesserae of colored glass, each piece set slightly apart from its neighbors, catching light the way water does.
Also, a clever way of color customization is used: red marked the entrance, gray white the center, blue the side passage, yellow the back. That was a great move to avoid signage details and express it with architecture and aesthetics; the mosaic itself told you where you stood. The showroom still exists today, carefully restored and open to the public, and you have a chance to see what an architectural and design miracle looks like in real life in the streets of Venice.
Why Rough Cut Scarpa Continue That Tradition?
Our Rough Cut Scarpa Collection doesn't reproduce the floor tiles only; we aim to carry the tradition and logic behind it. Every Scarpa mosaic tile in the range is cut in irregular rectangular fragments, hand clipped so no two pieces are the same, then set in the same restless, interlocking rhythm Scarpa used to make stone feel almost typographic.
The rough cut surface keeps the hand of the material visible; nothing here is made for perfection, in fact, the imperfection brings the exact soul of what Scarpa tried to create. Color shifts subtly across the field the way it does in a real marble block, because that's exactly what it is.
Don’t think that we offer Scarpa mosaic tile in a limited design spectrum. You’ll find them across a wide range of natural stones, from the cool restraint of Bianco Dolomiti marble and Diana Royal to the depth and unique characteristics of Calacatta Green, Red Bordeaux, and Iris Black. Maximalist or restrained, the design language stays the same: the geometry connects everything, and every fragment holds its own edge.

Where Scarpa Mosaic Tile Is Used In Our Projects?
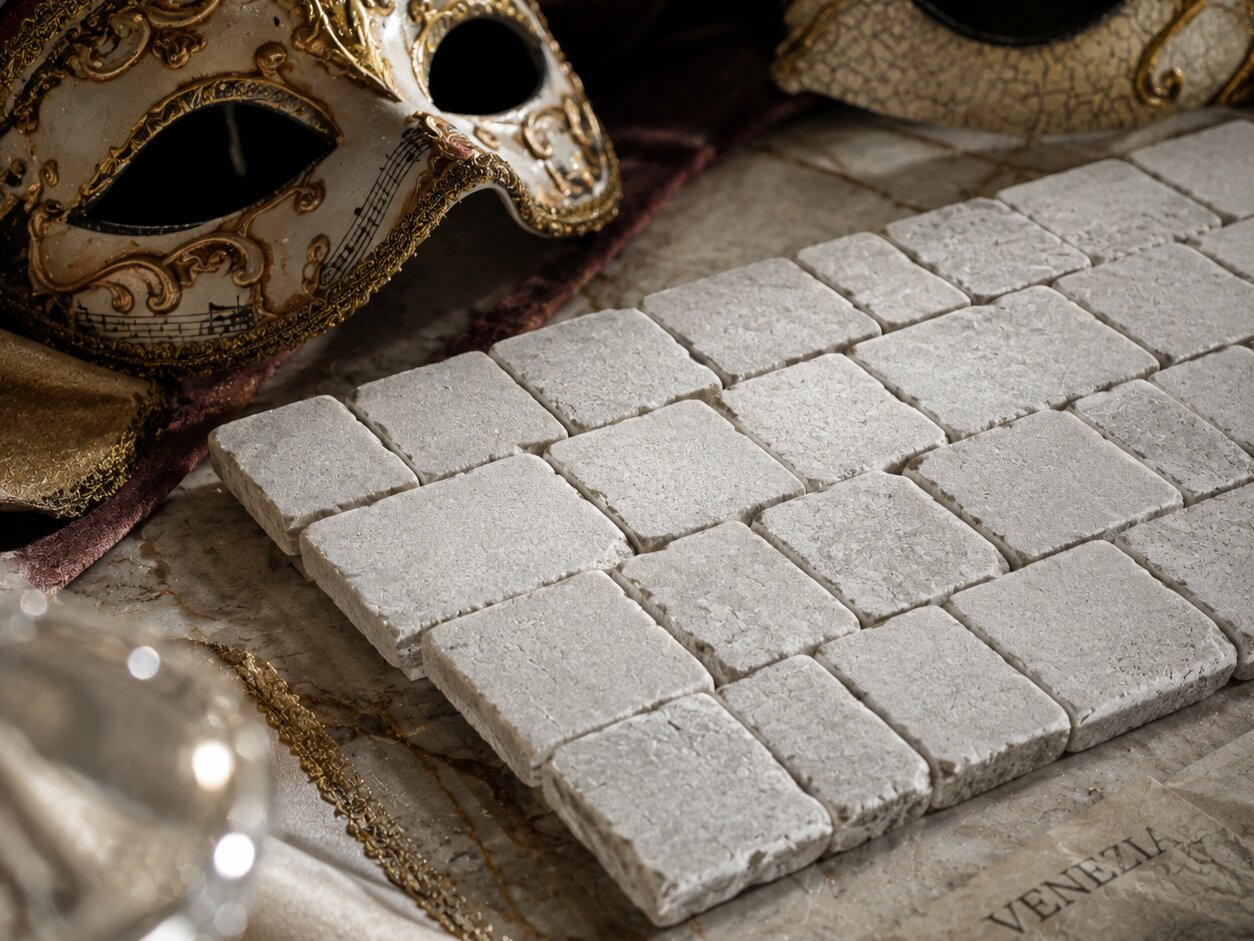
Use it where a floor is meant to express the background of a noble story of an architectural dream: an entry that sets the tone for the whole home, a powder room that becomes the story people tell about your house, a shower niche or kitchen backsplash that turns a utility surface into a focal point. As a designer mosaic, this Scarpa mosaic tile rewards close looking; the interlocking pattern reveals itself one piece at a time, the way Scarpa intended when he asked people to slow down and actually look at a floor. Because that was it, to be able to notice.
Most tile gets chosen once and stops being seen. A Scarpa mosaic tile floor will always remind you that it’s chosen for a reason.